15 Basic Photo Editing Tips
Got some photos that need editing but don't know where to start? Check out these 15 tips to take those photos to the next level.
Guest Post by Fix the Photo
Professional photo retouching services provider
Every photographer should have basic photo editing and color correction skills. It isn’t enough to take a photo. You need to present it in the best way without defects. Luckily, there are numerous tools and softwares that help with photo editing and make the whole process easier for beginning photo retouchers, photographers, and designers.
10 Basic Photo Editing Tips
- Choose a photo editing software for your purpose: Snapseed (for Instagram photos), Lightroom (for color correction), and Photoshop (for face/body retouching, creative photo manipulations/digital drawing).
- Make cropping/resizing. Use the space to your advantage, cut the photo where it’s necessary to even the lines.
- Don’t forget about the old school Vignette to create a frame. Not overdo.
- Do deep color correction: remove all lighting defects, add a specific color effect as matte, monochrome, cinematic, film or pastel.
- Use Lightroom presets, Photoshop actions, and overlays to make photos pop fast.
- Do not overdo with Clone Stamp, learn how to do skin frequency separation.
- Mind the background, remove distracting spots, strangers, etc.
- Make teeth white, eyes – bright and clear.
- If you remove stray hair, keep it volume.
- When you’re saving the result, pay attention to the resolution and size.
1. Find Your Photo Editing Software
There are dozens of softwares, online photo editors, apps for photo editing, all of them have the incontestable pros and cons and perform photo manipulation in a different way.
The iPhoto and PhotoPlus apps look perfect for the iOS users, it’s convenient and user-friendly, there’re useful filters to apply that will work for Instagram and Twitter photographs. Another go-to is a Snapseed that is available both on Android and iOS. It offers a great set of tools such as Blur and using Brushes. However, you’ll need much time to make it out. The desktop photo editors as Picasa and GIMP are free and they would be a great choice for those, who prefer to work on the PC. Finally, there are online photo editor Pixlr and PicMonkey that do the photo editing job quite in a similar way. The collage creating and using filters are what they are particularly good at. Adobe Lightroom is great for professional color correction, Adobe Photoshop for all photo retouching and photo manipulations you can think about. I recommend using the least two softwares as they offer a full range of basic photo editing features and there are many Photoshop and Lightroom tutorials on YouTube.
2. Prefer RAW Format

Every beginning photo editor can’t choose between RAW or JPG format and most of them take photos in RAW, despite the memory card space limitations. The explanation is simple, it all comes down to the quality and the color range. Any digital camera captures an object through its own settings and a photo differs a bit from the reality. The RAW format keeps it almost without additional changes.
3. Always Save the Original Photo
Sometimes I want to undo some photo editing steps or make the photo colored and monochrome. That’s when I always keep an initial copy of photos. You won’t be always satisfied with the result, thus, you need something to go back to.
4. Don’t Go Overboard with Photo Editing
Remember that the main photo editing purpose is to enhance the beauty of the model/product/house/nature, not to transform it completely. The basic photo editing principle says: “Get rid of distractions only to turn focus to the character”. The image that looks artificial won’t get you far as it isn’t a real-life reflection. Make everything naturally edited.
5. Keep the Lines Straight
It’s easy to get lost in the shooting stage and forget about the horizon line. This problem happens mostly during the outdoor photoshoots and is quite manageable. The majority of the photo editor softwares have a “Rotation” toll that can fix these problems.
6. Add Vignette to Portrait Photos
If you want to focus viewers’ attention on the model’s face, add a small vignette as a frame. The less it’s noticeable, the better.
7. Adjust Light & Shadows
Photographers often call shadows and highlights the most powerful photo editing parameters. Too much of shadows or highlights come across as a low-quality product.
8. Don’t Forget about the Contrast Settings
Sometimes photos turn out either too bright or too dark due to the camera’s exposure settings. There are 2 main settings to adjust when fixing overexposed and underexposed photographs: brightness and contrast. Working with brightness settings will result in all the pixels in your photo becoming lighter or darker. Increasing the contrast settings will do the whites whiter and the blacks blacker. Your purpose should be to balance the brightness and contrast to make a natural and realistic photo.
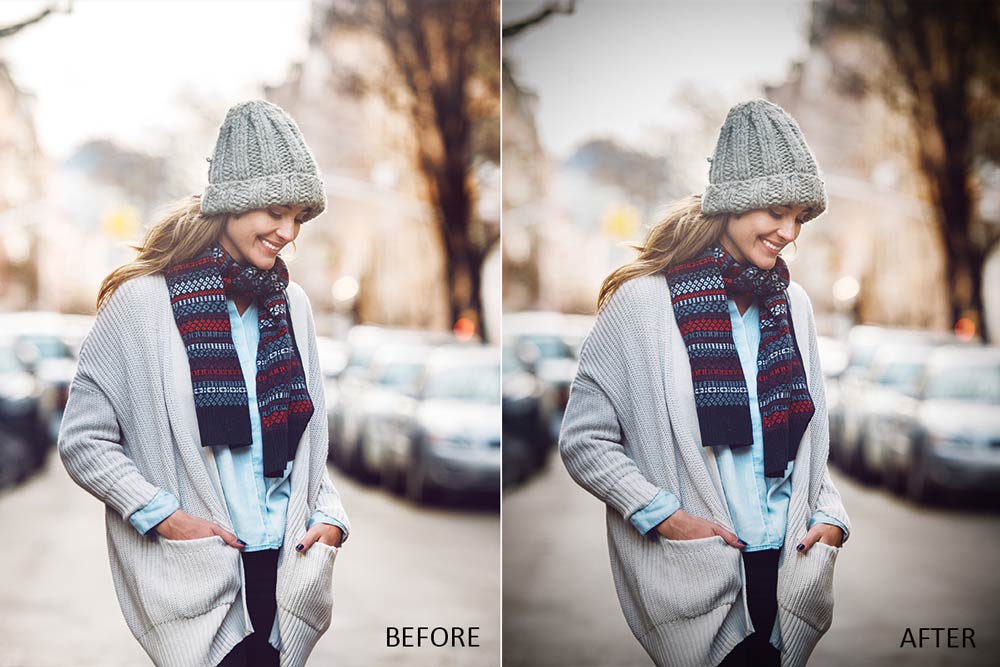
9. Color Correction is a Basis
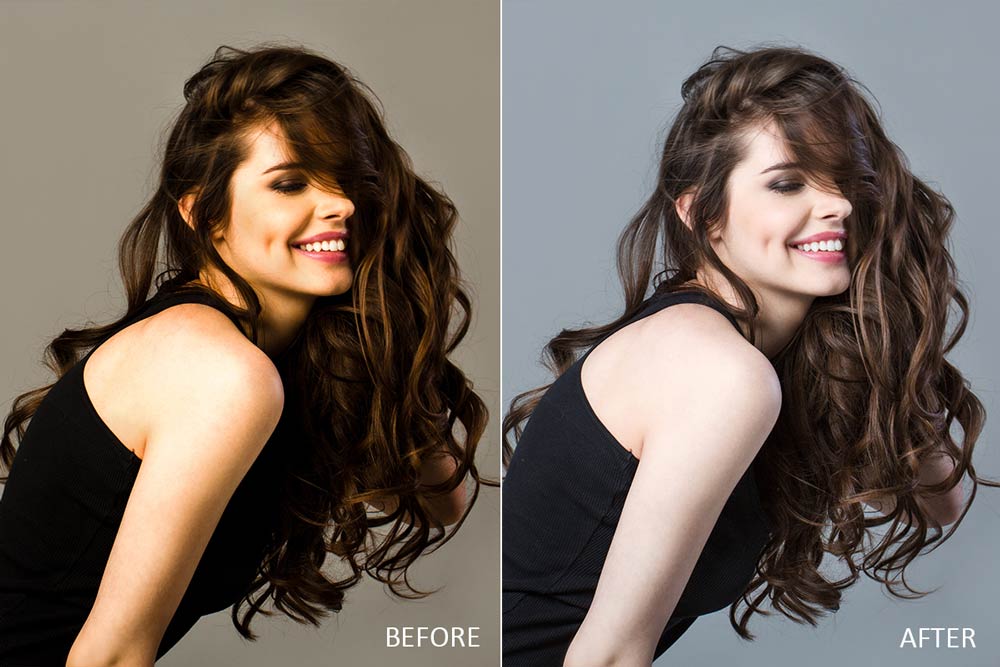 Photo color correction relies on reading data from the photo and then adjusting the settings that the photo provides. It’s recommended to be done in Lightroom or Adobe Camera Raw. Both softwares provide a wide range of control and flexibility, without permanently altering or damaging the original photo information. If you need to work with tonality and color, change the Levels or Curves settings, to adjust colors and stylize photos, use the Color Balance or Hue/Saturation settings. For converting a color photo to monochrome, click Black & White.
10. Consider Beauty Portrait Retouching
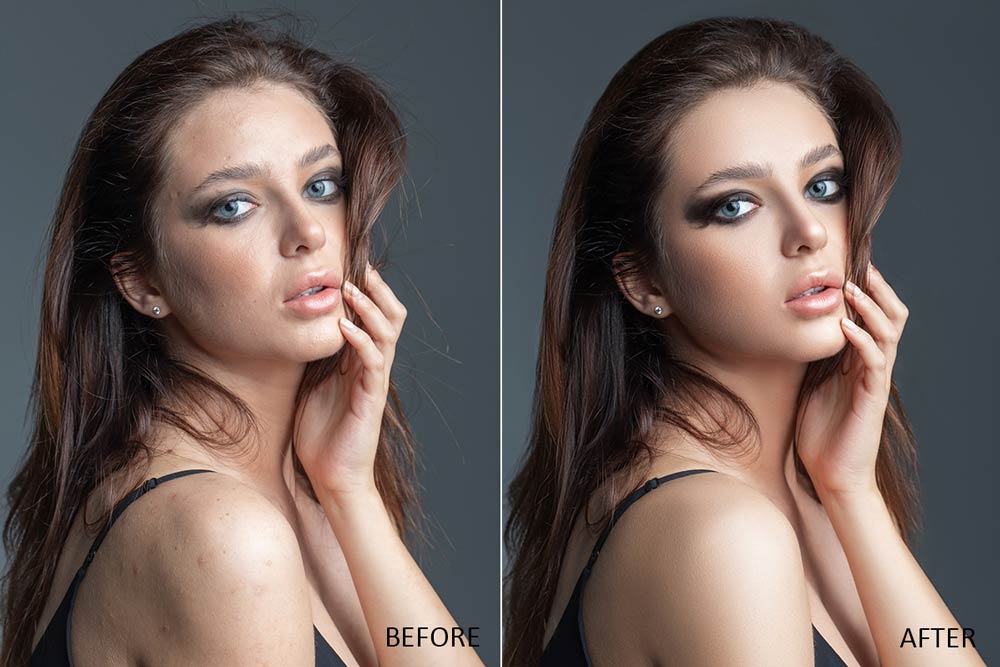
All professional photo retouchers should have a naturally edited photo, but teeth whitening or blemishes removing doesn’t make photo artificial. The “Healing Brush” tool is the first Photoshop tool you should start to use for skin retouching cause it works with the texture and color giving a perfect face and body look. The only thing you should avoid is to make your model look like a doll without natural curves and facial features.
11. Use Lr Presets, Ps Brushes, and Overlays
There are a lot of the photo editing plug-ins that can make your photo look appealing and pop in several clicks. You can enhance colors, correct white balance, make eyes brighter or teeth whiter, stylize your photo in matte/b&w/pastel/HDR/film style, etc. You can find many useful and free Photoshop and Lightroom photo editing filters at FixThePhoto.
12. Save it Properly
The right resolution is a final test to pass. When you’re going to print, you want to have the finest image possible, without the evident pixels. The generally accepted value is 300 pixels/inch. Printing photographs at a resolution of 300 pixels/inch squeezes the pixels in close enough together to keep everything looking sharp.
13. Combine the Photos
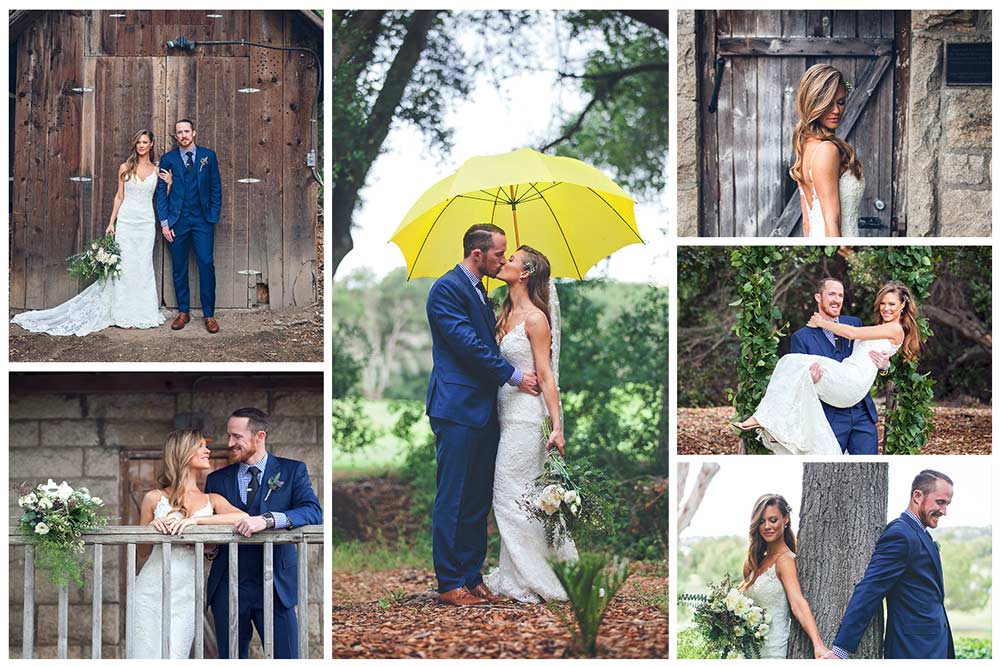 The collage is a great decision when you have some step-by-step or simply serial photos (wedding, couple, event images). Crop them as you need and mix so that they accompany each other.
14. Be Careful with Text
You can add text/watermark/logo but it usually damages the main ideas of the photo and distracts a viewer. If you’re going to place a logo on your photos, leave a space for the text in your mind while taking photos.
15. Make the Background Clear
Using a Patch tool in Photoshop is a real way out when you need a “magic eraser”. This tool is very easy to remove an object from the background but the photo still will look natural.