
macOS Pages Upload
Guide for exporting and uploading your PDF from Apple Pages to our website
As of PrestoPhoto Version 2.0 of the App, we have now integrated photo book upload directly in the Apple Photos portion of the app. We do not, however, have direct upload capability from within the Apple Pages portion of the app. For now, you will need to upload PDF files directly using your web browser. For the instructions below, the screenshots should help you out, and we also have tutorial videos available in a YouTube playlist to help!
1-2-3 Easy Guide!
Download the Template
Start by downloading one of our Pages templates.
Make your Photo Book
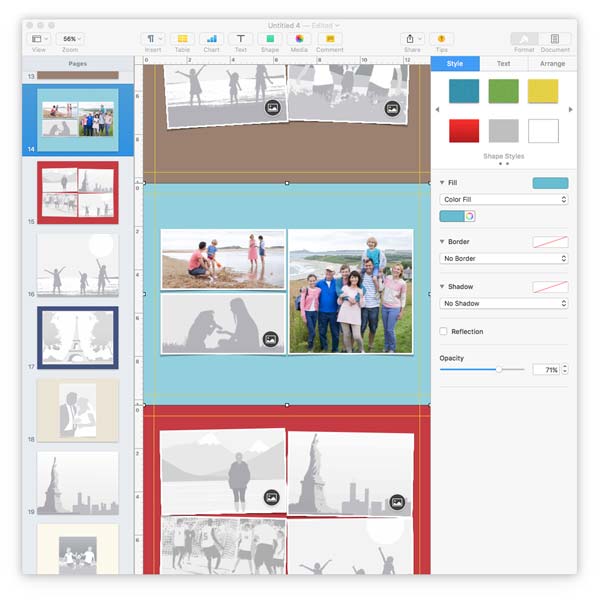
Unzip the file and start a new Pages document. Simply click on the button in the bottom right hand corner of a placeholder image and load in an image from your Photos or iPhoto library.

Export to PDF and Upload
Export a PDF of your project, and then upload it to PrestoPhoto!
Upload Now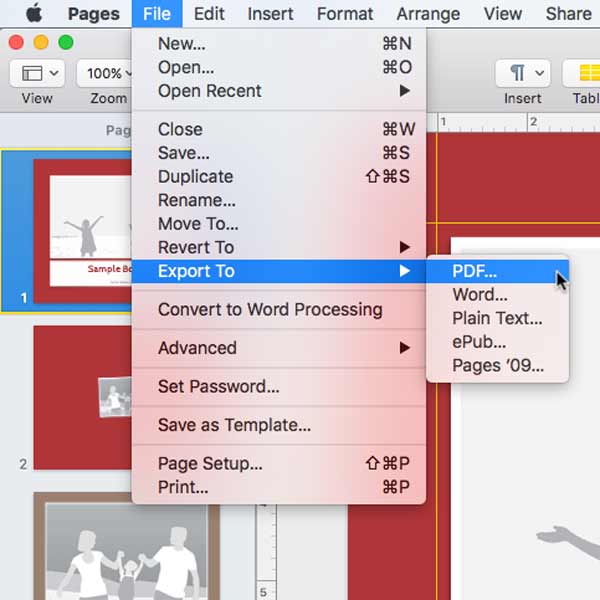
Export to PDF
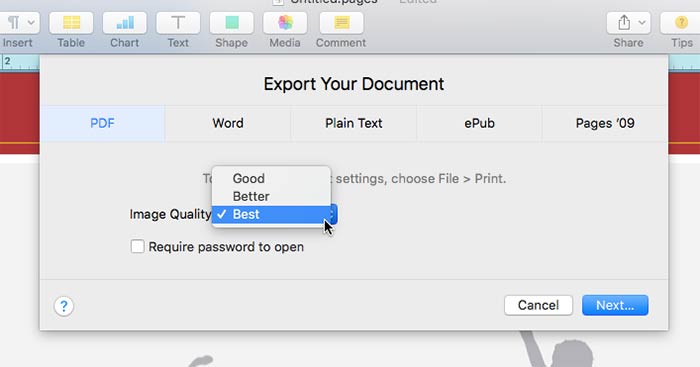
Export a PDF by going to File-> Export to-> PDF…. You will be prompted to choose your Image Quality, use 'Best', and save a PDF to your local computer. Next, upload the PDF to PrestoPhoto.
Start PDF Upload

After you have Exported your Photo Book as a PDF, you can now upload it to PrestoPhoto. You can either upload it here or click on our top menu bar, and go to Photo Books -> Create a Photo Book, and selecting from the popup Upload PDF
Name your project and pick the Type
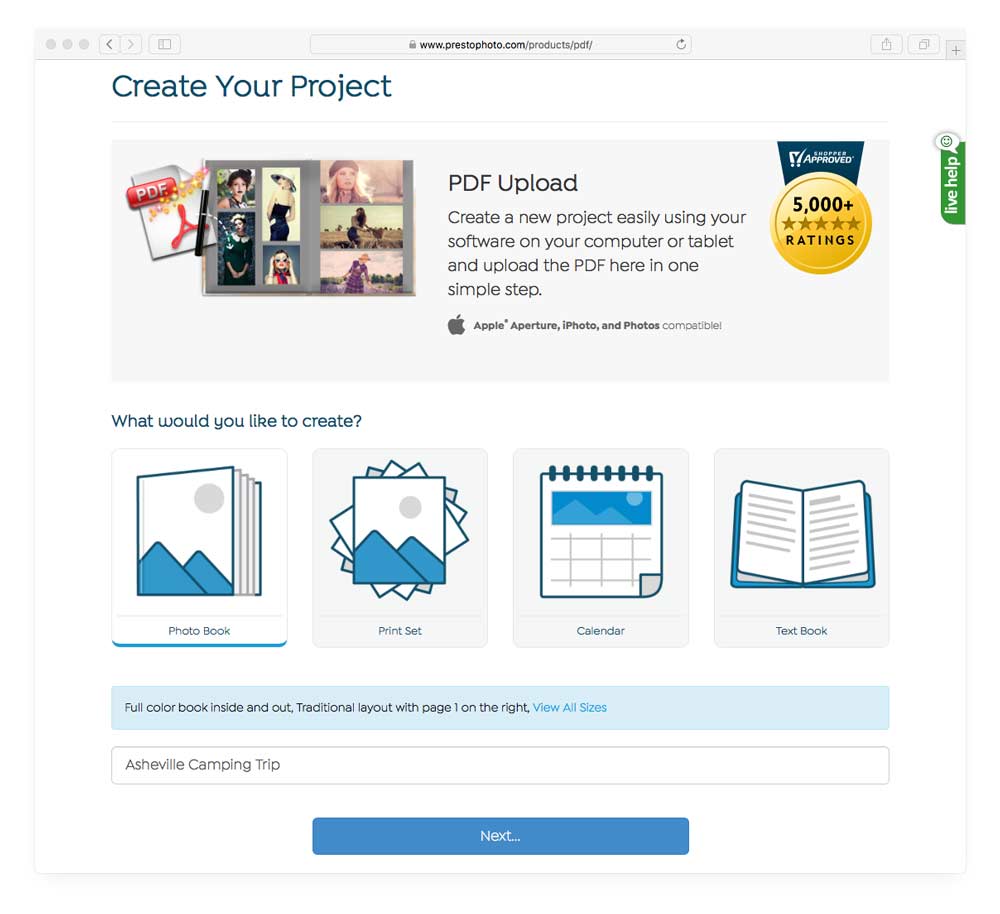
On this page, you start by picking the type of project you want (you want the first option, Photo Book, which is pre-selected). Enter a name for a project to help keep track of it
Select your PDF and Cover Options
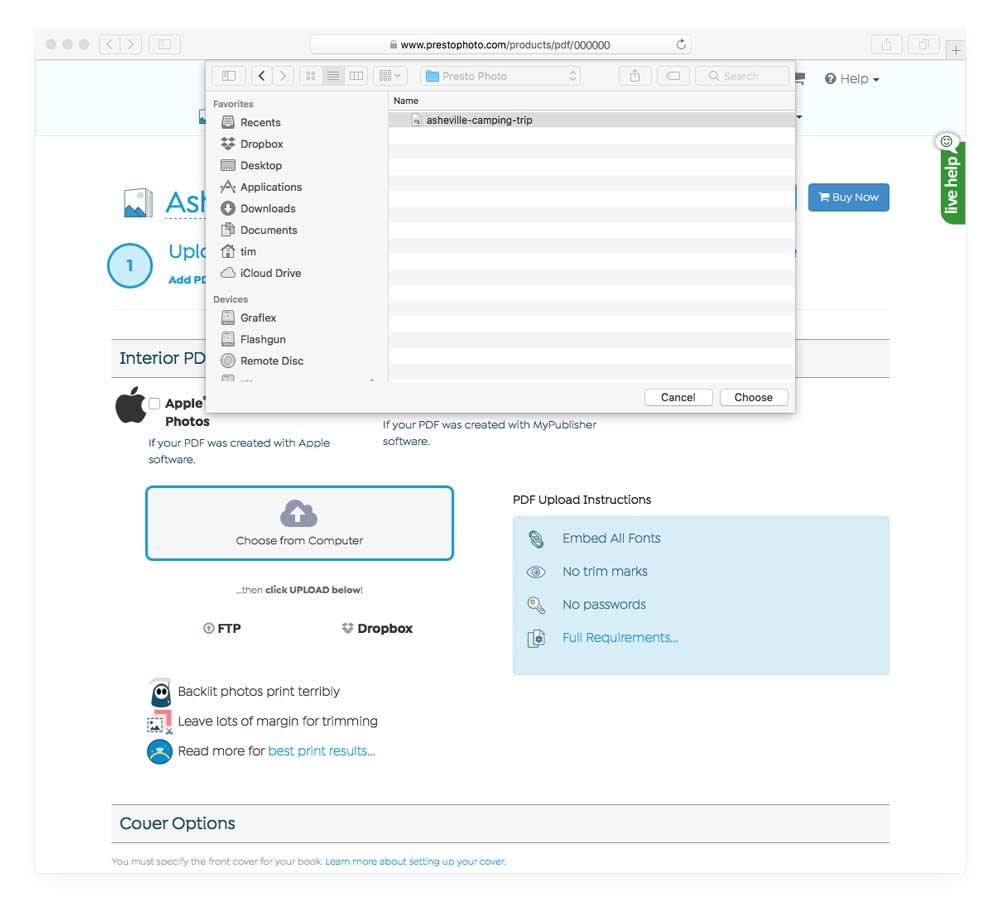
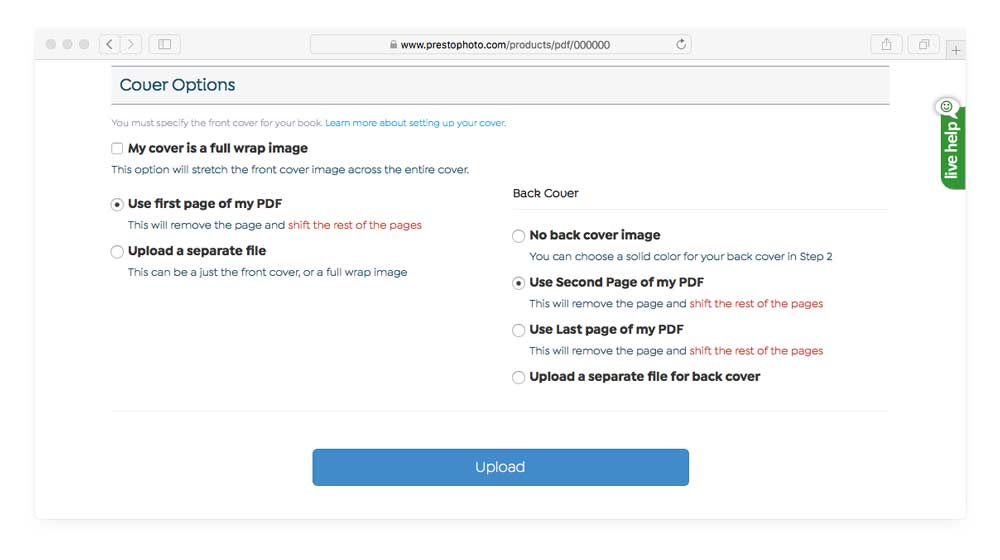
Click on Choose from Computer, and then find your Photo Book PDF and select it, then press open. Scroll down the page to Cover Options, and you want to select Use first page of my PDF from the left hand column of the cover options, and then to the right are the back cover options, select Use Second Page of my PDF, and finally click the Upload button at the bottom of the page.
More Cover Options
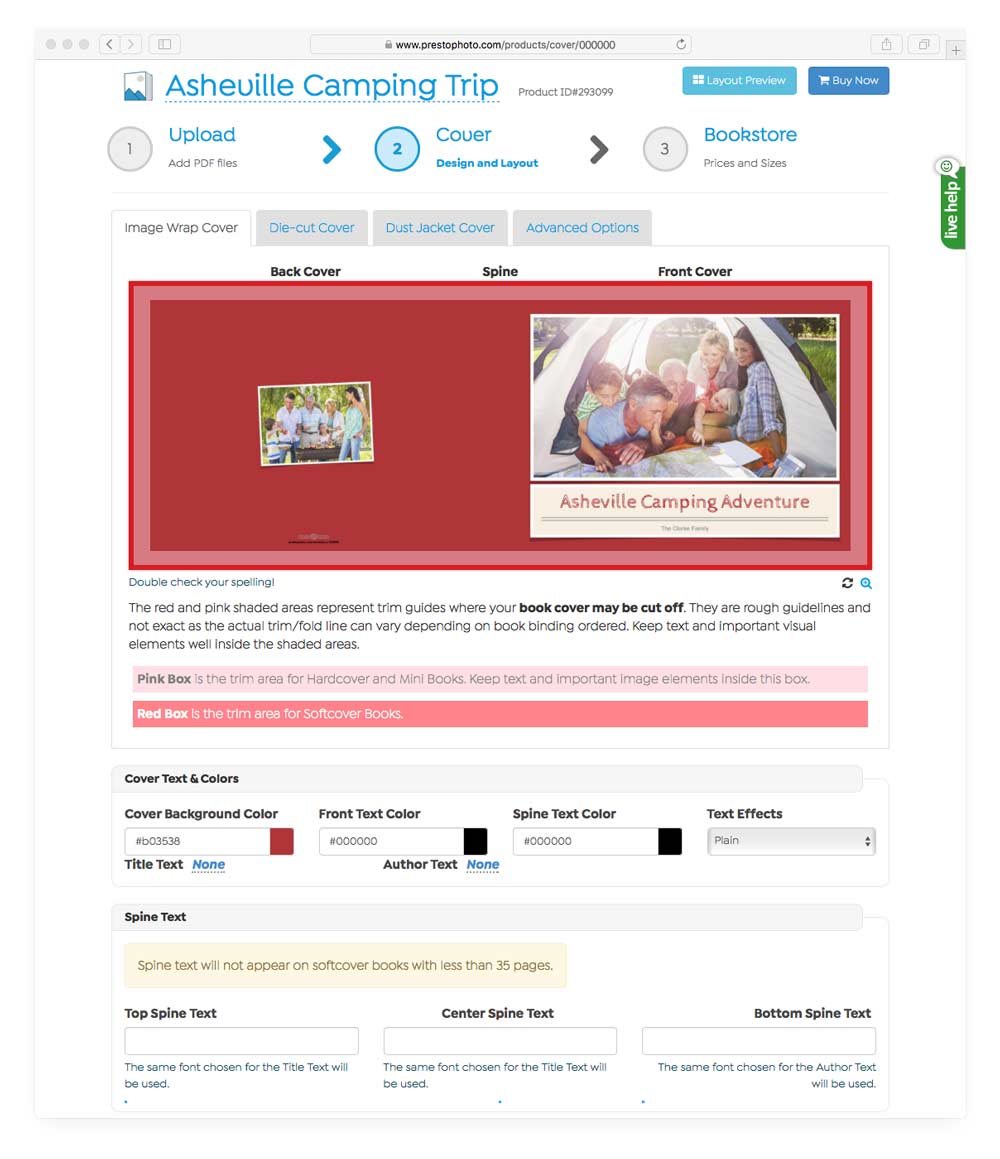
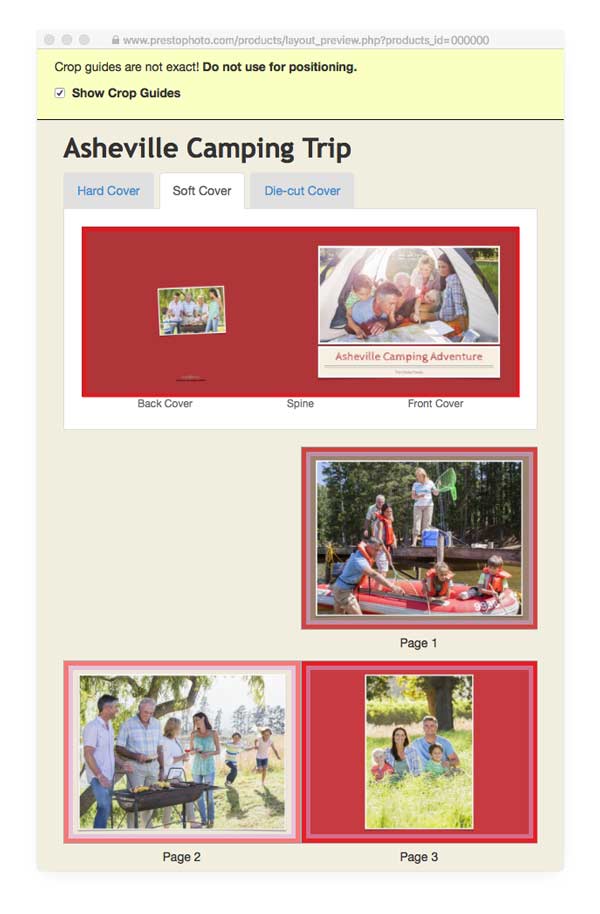
For this step, you can now see a preview of how your book will print by clicking the Layout Preview button in the upper right hand corner. If your book is being printed as a hard cover or is a soft cover over 35 pages, you can also enter text for your spine on this page. At the bottom of the page is an area to change where the info box information is printed on your book if it is ontop of any inportant design elements. Once done, go back up to the top of the page and click on Bookstore.
Bookstore

If you would like to make your book available in our bookstore for anyone to buy, check the List product in webstore checkbox. If not, click Buy Now.
Buy your Photo Book

Select the size and cover material you would like to purchase your book in. We have our most popular options at first, if you don't see your desired option click on All Sizes to see all available sizes. Choose how many you want and select Add to Cart and checkout!
Enjoy your Book
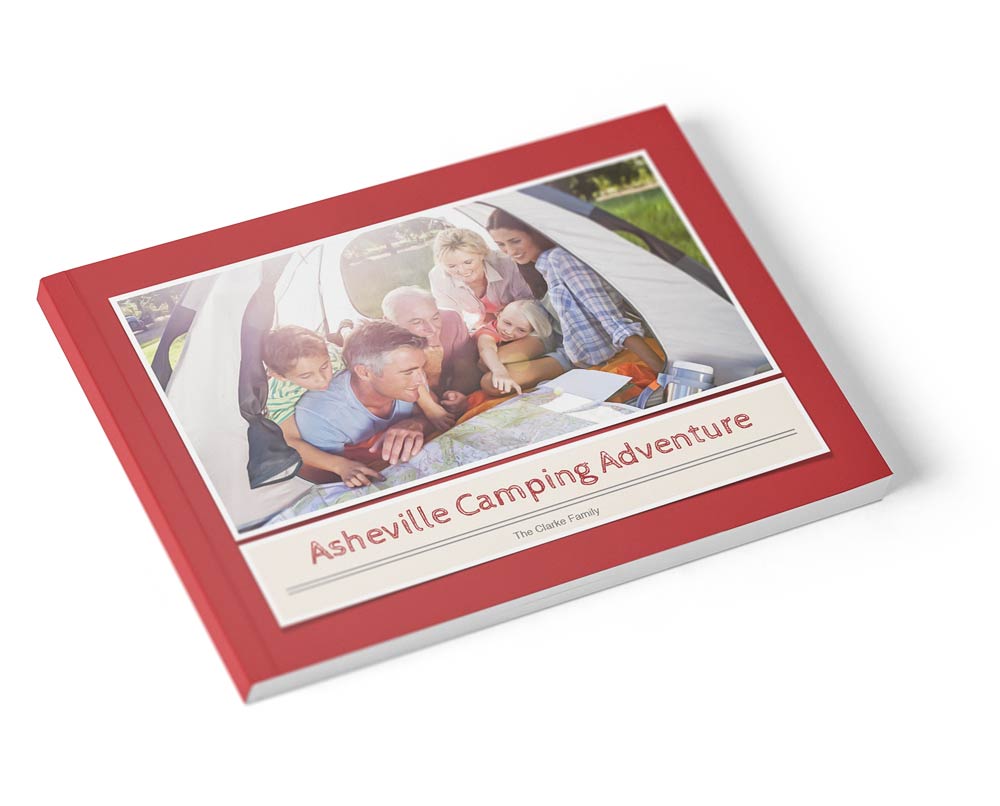
You're all done! Enjoy your custom made photo book and start cooking up ideas for the next one.