
Online Book Designer
No PDF? No problem. Create a photo book easily using our online software!
Start your book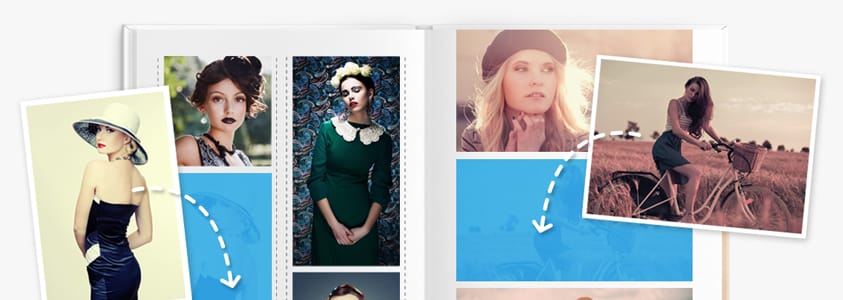
No app, no download, no worries! PrestoPhoto makes it easy!
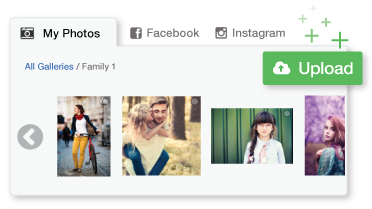
Upload
Select all the awesome photos you want have to have in your photo book. When you're ready, upload them individually, zipped, or even with FTP!
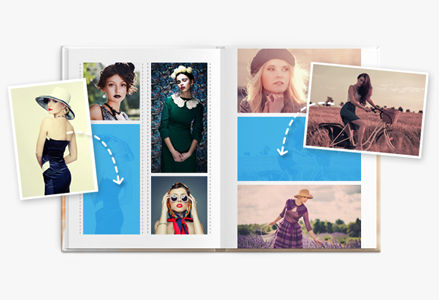
Create
The fun begins! Use our templates, drag and drop your photos, and add text for a completely customized photo book that's uniquely you.
Get Excited
Finally, select your book size, choose your shipping, and purchase. Then make space on your bookshelf and relax - you've earned it!
Creativity Everywhere
From your desk to your tablet on the go, your work will always be saved for easy access from anywhere you want to create.
Start your book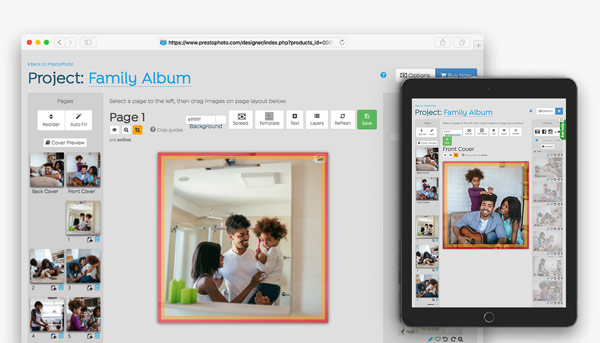
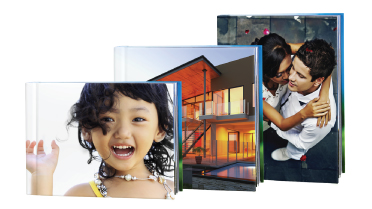
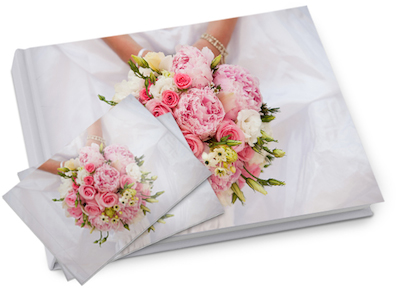
Choices, Choices, Choices
Big or small, hardcover or softcover, one project translates into so many options. After all, we love choices as much as you do! Learn More
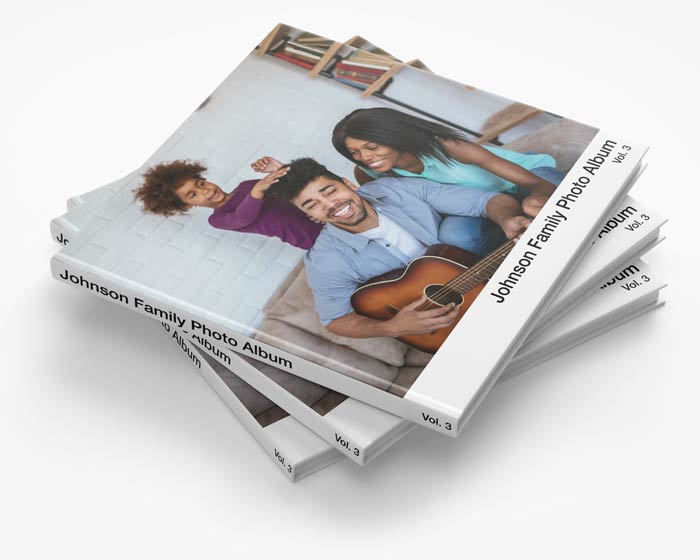
Bulk Printing at it's Best
Bulk orders can be a little overwhelming, even after the first time. Never fear! A dedicated Presto team member will work with you one-on-one to make sure all of your needs are met at the best price possible.
| Quantity | Discount |
|---|---|
| 5-9 | 5% |
| 10-99 | 10% |
| 100-299 | 15% |
| 300-499 | 20% |
| 500+ | Contact Us |
FAQs
Absolutely! We have a handy dandy text tool that allows you to add text, change the font, size, and so many other things. Check out the directions below:
- From within your project, select the page you'd like text on and click the "+ Text" button in the toolbar
- Once the text box loads you can click inside that and start typing. You can add as many text boxes as you need!
- If you'd like to change the font size or font, just click inside the text box and a text editor will appear in the toolbar. Highlight your text and make the adjustments in the editor.
- When you're done just click "Save" and you'll be all set!
Great question! Our crop guides make sure your vital content is safe by showing you where the trim will fall. When you ignore them, it makes your content sad (and disappear). Our Crop and Bleed page goes into a crazy amount of detail about this as well!
We may -or may not- be able to help, depending on your aesthetic preferences, but we’ll try! We have some great template sets for use in the Book Designer that can add just enough (or more) padding so your images will not fall under the guide.
If you just want a simple border, our favorite set is the Styled Photo Book Set. You can follow the steps below to get one of those templates added to your pages:
- From within your project, select one of the pages in the left sidebar and click on the "Template" button in the toolbar
- Once the sets load, in the right sidebar you can click on "Styled Photo Book Set"
- Click and drag the template you'd like to use onto the page in the left sidebar. You can do this for as many pages as you'd like
- When you're done adding those templates, just click on one of the pages in the left sidebar and the pages will regenerate!
If you don’t want any borders around the images, then we’d recommend adjusting how the photos are placed on the page or editing the photo on your computer and uploading the adjusted photo.
Boy can you ever! We have quite a few people that have their books set up for selling and you can even receive commissions based on an amount you set for each sale. I'll include the directions on how to make that happen below:
- From within your project select the "Options" button that is above your project pages to the right
- Under "Availability" check the box for "List product in webstore" and from the drop down menu select the "Create new security level" option
- Enter a title for the security level (such as "For Sale" or "Public") and select which option works best for you:
- Hidden: allows anyone to access your products as long as they know the exact URL
- Protected: In order to view your product, any visitor must know the answer to a question you determine, such as "What is the name of the Presto pug?"
- Private: This is the default option when no other security setting is selected, meaning that only you can see the product from within your account
- You can also enter a description for your project which will show when someone accesses the webstore for your book, select that options that are available for purchase in case you don't want them all available, and set your commission amount
- When you're all set with your selection just click on "Save" at the bottom of the page
- Once your project is available you can provide them the link to the Webstore (the page found after you click "Buy Now") which will allow them to purchase a copy!
Your project should default to allowing people with the link view the interior of your book through the Flip Preview, but let us know if you don't have the option! We recommend opening the link to your Webstore in an incognito browser to make sure that these things work!
We have some super helpful pages for learning more about Security Levels and selling your book. Be sure to check them out!
Manufacturing for hardcovers will run between 5-7 business days and softcovers run between 4-7 business days. These times will precede shipping times. Our shipping options include methods as fast as FedEx Overnight to as slow as USPS Media Mail. :)
If you need your order a bit faster than that, we do offer an expedite service for most products that cuts production time down to 2 business days preceding shipping, barring any QA issues. This service is an additional charge of 25% of the order total including shipping. Check out our Expediting Orders to learn more about that service!
If after dropping the image onto the page you're seeing just the image, chances are that you may not have uploaded the images to your account just yet. Before you can start making your awesome book you will need to upload the photos you’d like to use in the project. You can do this from the “My Photos” menu option under your name or the easiest way would be from within your project. Check out the directions for uploading in the Book Designer below (these also apply for adding images to your account in general):
- From within your project click into the editing screen for one of the pages
- When you’re in the editor, click on the “Upload” button. This is in the My Photos box to the right the page you’re working on
- An upload box will appear at the bottom of the page (you should be taken there immediately after clicking upload)
- From here you can either:
- Create a new gallery if needed
- Choose the gallery you’d like them uploaded to
- After choosing the gallery, select the files you’d like to upload and drag and drop them into the uploader - they will start uploading automatically
- When the images have uploaded, you can drag and drop them onto the pages from within the editing screen to your heart’s content!
Let’s walk you through getting that crazy awesome spine text included!
- From within your project, select the Front Cover and click on the "Layers" box in the toolbar
- Click the “Edit” button that shows next to Spine Text
- When the text editor shows below the page (you may have to scroll down to see it) you can:
- Enter spine text for only the top or bottom area of the spine
- Add spine text for both top and bottom
- Change the spine text color by entering its hexadecimal code or clicking on the color box to choose from a color wheel
- Once you’re satisfied with the text, click Save below the editor
- You can then click the “Cover” button in the toolbar to preview your new cover!
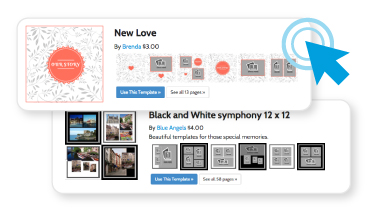
We have some great template sets for use in the Book Designer from both designers and Presto! One of our favorites is the Styled Photo Book Set which has options that provide just enough padding if needed. You can follow the steps below to get one of those templates added to your pages:
- From within your project, select one of the pages in the left sidebar and click the "Templates" box in the toolbar
- Once the sets load in the right sidebar, you can select any of the template sets that show
- Click and drag the template you'd like to use onto the page in the left sidebar. You can do this for as many pages as you'd like
- When you're done adding those templates, just click on one of the pages in the left sidebar and the pages will regenerate!
This is a pretty easy process that you can do as many times as you need! To do this follow the steps below:
- From within the project click the "Rearrange" button that is in the left sidebar
- When that opens, select "Add Multiple Pages" at the bottom of the page
- Enter the number of pages needed in the popup box and click "Add Pages"
- The page will refresh once you've confirmed and you'll see the additional pages starting after the original page count!