
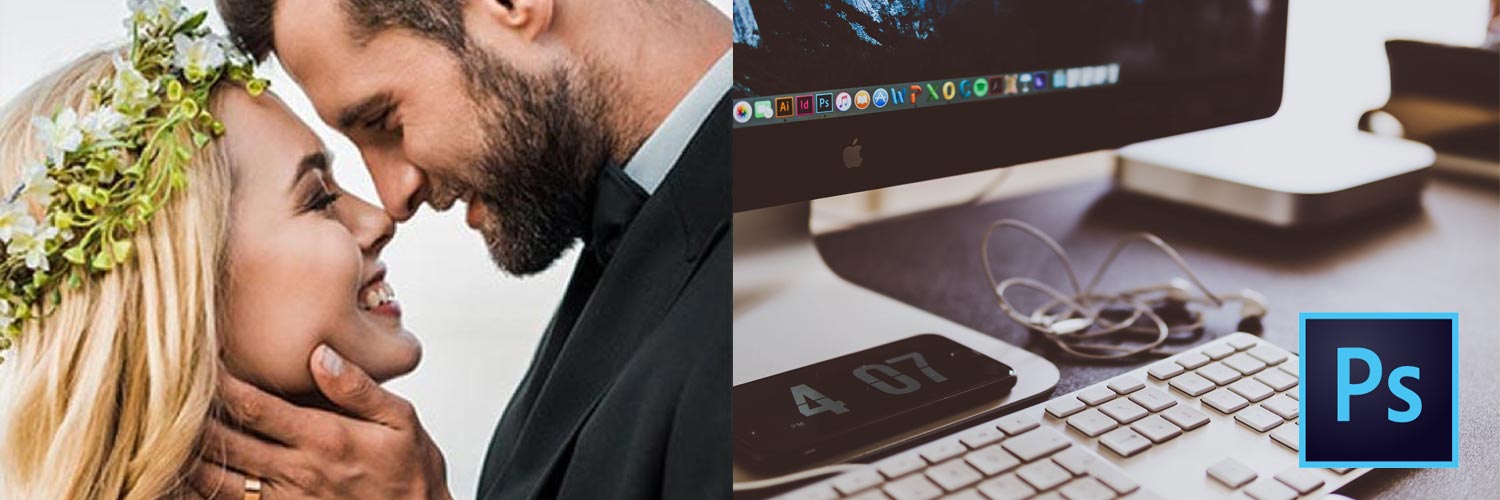
5 Easy Photoshop Retouching Hacks for Wedding Photos
Retouching wedding photos don't need to be difficult. There are easy tips you can use that can help you retouch those photos. One of the most popular tools you can use to retouch your photos in Adobe Photoshop.
By Rebecca Van Ommen
from Paper Boat Creative
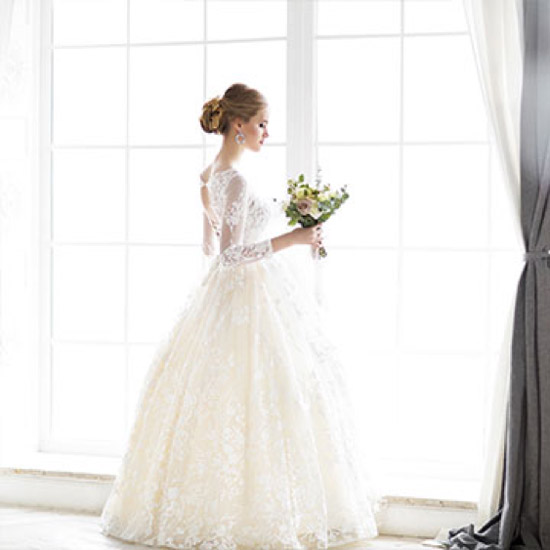
Retouching wedding photos may seem like a daunting task for beginners but, there are functions in photo retouching tools that let you retouch photos easily. How do people get flawless skin? How come the people in the image look so bright when the day was so dark during the day of the wedding? There are many easy ways for people to retouch wedding photos and make them look better.
When it comes to photo retouching, there are a ton of tools you can choose from. The most popular program for photo retouching is Adobe Photoshop. We will use Photoshop as a basis for this article but, the features are available on other photo retouching programs. They just come in different names.
Here are five ways you can retouch wedding photos easily:1. Clone Stamp or Healing Brush to remove blemishes
One of the easiest tools you can use in photo retouching is the clone stamp.
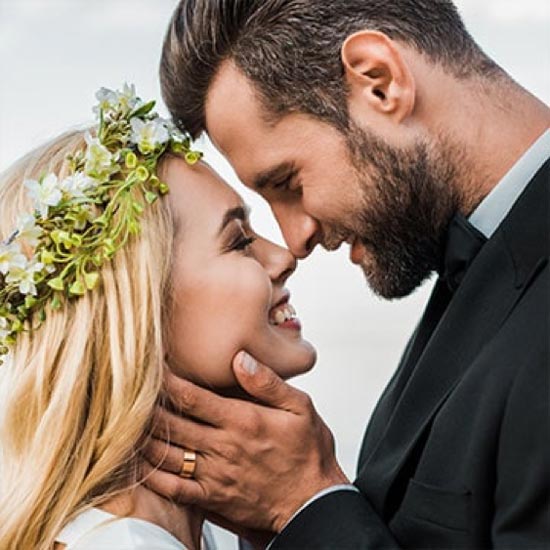
Skin blemishes are a common sight in any photo. However, when it comes to weddings, you want to hide as many blemishes as possible Even with tons of makeup covering someone's face, there will always be a minor flaw, or two, lying around. You can use the clone stamp or the healing brush to remove those flaws via photo retouching. Here's a comparison between the clone stamp and the healing brush.
Clone Stamp
Let's say the bride has a few blemishes on her face that you want to remove. The clone stamp helps resolve this issue when you select a flawless part of someone's skin, copy it and apply the stamp to the flawed areas.
Keep applying the stamp on the flawed area until the flaw is no longer visible. Your subject will look flawless with the help of the clone stamp.
Healing Brush
When you're using a healing brush, you are not just copying a blemish-free area of the skin. The flawless area of the skin is copied and then pasted onto the flawed area. However, unlike the clone stamp, pasting also involves integrating the copied area into the flawed area. This means that you copy a flawless area, paste it onto the area with blemishes and, the healing brush will integrate with that area to match the texture.
Let's go back to the bride for example. The bride can have a visible scar on her arm that was covered in makeup that she wants to be removed. The bride may have a section of her skin without a scar, such as her shoulder. The clone stamp will copy the selected section of her shoulder and cover the scar. However, you will notice that the skin from the shoulder is only pasted over and not integrated.
When you're using the healing brush to remove the scar, pasting the section of the shoulder to the arm will integrate with the skin so that it looks as natural as possible.
2. Dodge and Burn to highlight the couple
Sometimes your photo will look excessively bright and affect the way your subject looks. If you're shooting outdoors, the light of the sun could hit your subject and make them look too bright.
The bride's face can be covered by shadows if the sun was hitting her from a bad angle. Using dodge and burn can help you decrease the shadows from ruining the bride's photo.
An easy way to fix the lighting issue us by using the dodge and burn feature. The dodge and burn feature lets you make specific sections of the photo look darker or brighter. The brightness would make the whole image brighter or darker.
Using dodge and burn, you can make specific sections of the picture brighter or darker based on your preference.
You can start by creating a new Curves Adjustment Layer. The curves adjustment layer lets you make certain sections of your picture lighter or darker.
Here's how you can use dodge and burn to highlight the couple from the rest of the background:
Dodging
Using the Dodge function will make your image lighter. In order to do this, you want to create a black layer mask. The black layer mask can be activated using Ctrl+I on PC or CMD+I on Mac systems.
However, the layer mask will make your image look like it was painted on to look brighter.
Press OPTN+Click on Mac or ALT+Click on PC to view the layer mask or the section of the picture that Photoshop will apply the dodge effect.
Burning
Open the layer section and open a new curves adjustment layer. In order to burn the photo, pull the curve down.
- Invert your layer mask by using CTRL or CMD+I
- Use the brush tool to paint the outside of your image that will make the selected area darker.
- To blend the burnt area better, go to the apply image option and use the apply image function but, make sure it's inverted.
For more detailed instructions on dodging and burning, you can look at this video.
3. Noise Correction to make sure the couple's photos don't look grainy
When you're taking photos of a wedding, you have to adjust your camera settings in order to shoot a suitable photo. There are weddings which are held in low-light situations, meaning the lighting may be dim or not enough to create an ideal photo.
The lack of light means you have to adjust the ISO value of your camera. However, the more you increase the value of your ISO, the grainier the photo will get. That's not a good look for anyone in the photo, whether they are the bride or the groom.
No matter what camera you use. there will always be some form of digital noise. Did you notice how some of your pictures look grainier than others? That grainy effect is caused by a high ISO value.
ISO is one of the factors that determines how bright or how dark your picture will be in the exposure triangle (aperture, shutter speed and, ISO value). These three factors will determine how bright or how dark your photo will look like after switching to your camera's manual mode.
When you set your camera to a high ISO value, your image will start to look grainy. There are times when a grainy photo is unavoidable so you have to conduct photo retouching.
Here's how to use noise correction and make your photo less grainy:
- Identify the type of noise you want to reduce. There are two types of noise you may find in your photo: Color Noise or Luminance Noise:
- Color Noise: Instead of a solid color appearing, the image will show a lot of colors.
- Luminance Noise: The image will look excessively bright and grainy.
Here's how you can reduce color noise:
- I. Open the Reduce Noise function. (Click on the Filter menu, scroll down to the Noise tab and click on Reduce Noise)
- II. When you click on the tab you will see an option that says Reduce Color Noise.
- III. Slowly drag the slider to the right until the noise blends with the image.
Reducing luminance noise is a bit more advanced and will take more than a few clicks of a tab and drags of a slider. You can find more guides on more detailed forms of photo retouching from creative agencies such as the Paper Boat Creative. The agency has guides and blogs you will find on their website that will help you improve your photo retouching techniques. Study their different features and blogs on retouching. Learn about their high-end photo retouching services and apply what you've read to your wedding photo retouching.
4. Blur the background to place an emphasis on specific items
When you're shooting photos at a wedding, you will always zoom in to concentrate on items that make the moment even more special such as the couple's wedding rings or a sentimental item for the couple.
We can use the couple's wedding rings as an example. Let us say that you want to place a larger emphasis on their hands with the rings on. We can blur the background of their hands and concentrate all of the photo's attention to the wedding rings.
Zooming in using your camera is one way of placing an emphasis on the rings but, you can retouch the photo to make the rings stand out even more. One way of making the rings stand out is by blurring a large portion of the picture while keeping the rings in place.
The tip we're about to give may sound counter-productive to what we want to do but, it works. Blur the entire photo. That's right we will blur the entire photo to blur the background.
Here's how you can blur the background:
- Create a copy of your image and go to your Layers palette.
- Right-click on the Background layer icon and choose Duplicate Layer.
- Rename the duplicated layer as Blur.
- Go to the Filter drop-down menu and choose "Blur" specifically "Gaussian Blur."
- Go back to the Layers palette and choose an Adjustment Layer option. Any option will do. However, you shouldn't move the sliders. The sliders will determine how much of the picture will be sharp and which parts will be blurred.
- Drag the Levels 1 Adjustment Layer below the Blur Layer in the Layers Palette. Once you have done this, press the Alt Key and hover over the cursor between Blur and Levels 1.
- Left-click your mouse when a symbol with two circles appears. The Blur Layer icon will shift to the right side.
- Click on the white rectangle of the Levels layer and press Alt+Delete. The mask will become black and the original image will return.
- Use a soft-edged brush from the preset brushes you can choose from. Set the brush to 500 pixels with an Opacity of 100%. Set the foreground color to white by pressing the X key.
- Paint over the background to reveal the blurred picture underneath. Keep painting over the background with the brush but, don't forget to decrease the size of the brush as you brush closer to the subject.
The Gaussian Blur will give you the option to set the radius of the blur. Set the blur radius to 70. Once the blur is set to 70, your main subject will look blurred.
5. Use Shadows Highlights to make dark photos look brighter
One of the biggest challenges you can face at a wedding is awkward lighting. Having awkward lighting at the wedding can result in badly-lit photos. The couple could have been standing behind a really strong light and they were barely visible in the photo.
You can solve this issue with the shadows/highlights option. Here's how to use the Shadows Highlights option:
- Choose the Image Tab and go to Adjustment and choose the Shadows/Highlights options.
- Drag the Shadows and Highlights slider to the right to decrease the intensity of the shadows and remove the dark highlights of your image.
- Click Okay and look for the Curves Adjustment option. Using the Auto adjustment will help your photo look much better.
A few clicks and drags can change the look of an entire wedding photo
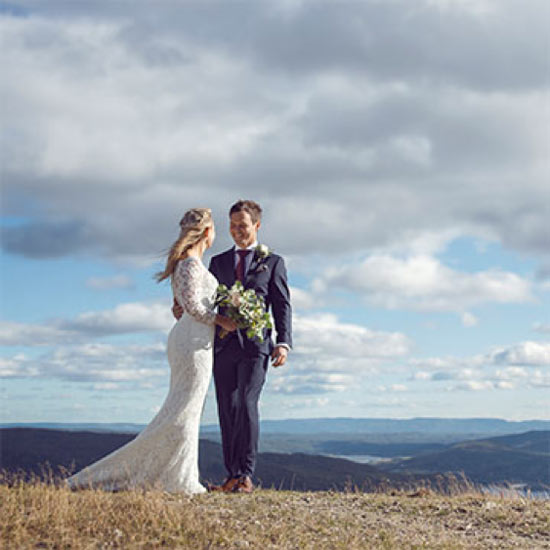
Photo retouching doesn't have to be complicated. There is a slight learning curve but, a lot of your retouching will just take a few clicks and slides to make wedding photos stand out above the rest. Using the tips mentioned earlier, photo retouching will improve the look of the wedding photos so that everyone will have photos they can cherish for a long time.
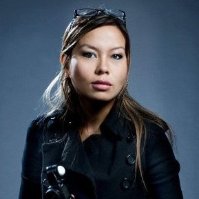
Rebecca Van Ommen
Rebecca Van Ommen is the Executive Creative Director of Paper Boat Creative, a creative agency that specializes in high-end photo retouching, photo editing, and more. She was one of the youngest Art Directors for Getty Images in London. Her work has been published through some of the world's largest advertising agencies including Mother, AKQA and BBDO London. Rebecca loves to exercise in her spare time. She also enjoys bringing her daughter to photoshoots for inspiration