
Create a Photo Book with Swift Publisher
Trying to create a photo book for print in Swift Publisher but don't know where to start? We've got a 5 step process to help you get started.
By Anatoliy Pyatnichenko
from BeLight Software
With Swift Publisher, it is easy to make photo books on your Mac. Let us guide you through five easy steps to create your own printed photo book masterpiece.
At first, we must decide where we will be printing our photo book: at home or with a company that prints on demand. Let's assume your photo book is letter size and will be printed by professionals at a book printing company.
Step 1. Create a blank book document
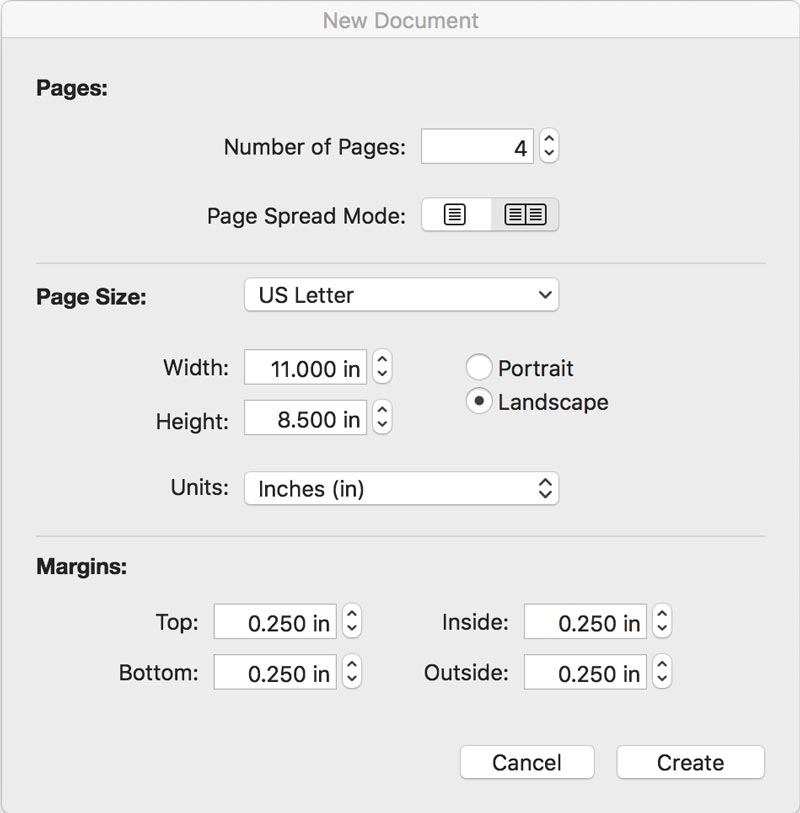
Create the blank document in letter format and landscape orientation. To do that, in the Templates Gallery, click New Blank in the bottom left hand corner (or File>New) and choose US Letter in Page Size dialog. You can set the number of pages right then or add pages later. While here, set your book size (we will choose 11"x8.5" photo book, or a landscape letter size), and select facing pages so you can see what your book spreads will look like together.
You can create a book of nearly any size with Swift Publisher, so don't think that's the only option. If you want to make something that's a 10"x10" square photo book, a 14"x11" landscape photo book, or even the standard 8.5"x11" portrait photo book, you can easily create the photo book that suits your needs.
If you don’t want to lose images or text when printing the photo book, we suggest you use margins. They prevent the placement of text or images too close to the edges that can be cropped off when the book is being printed and bound. PrestoPhoto suggest .25" inch margins around all sides of the interior of the book.
Step 2. Make your Front and Back Book Covers
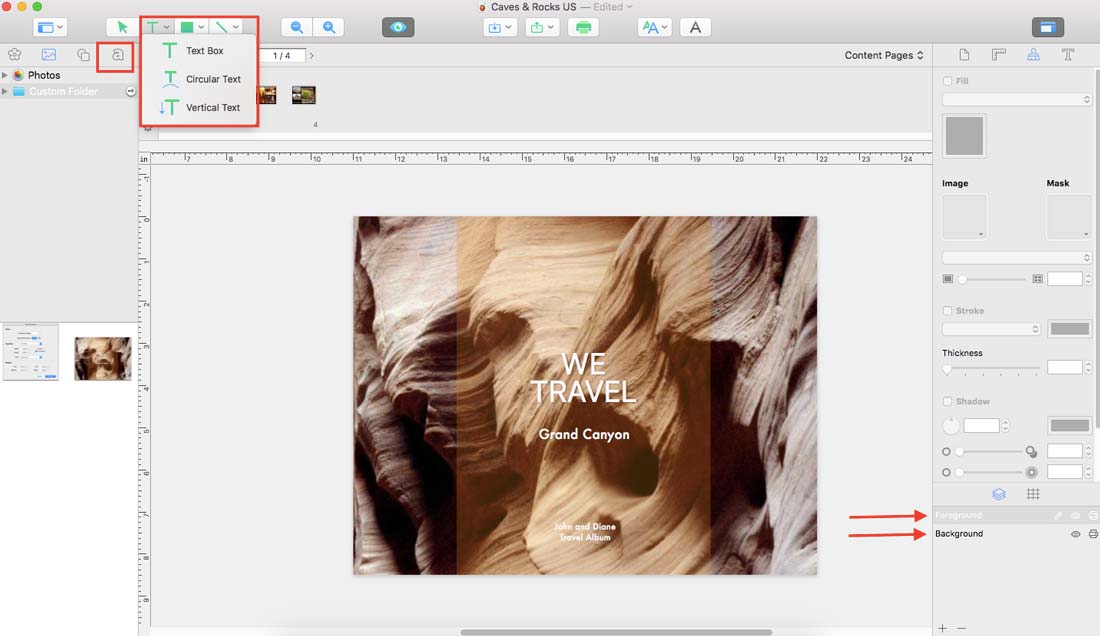
First Page is usually the cover page. If you need to fill the background of your photo book, click a Background option on the Layers tab of the Inspector panel on the right. You can fill the background with colors or images. To fill the background with color, draw a rectangle, stretch it to the edge of your photo book and fill it with color.
Switch back to Foreground and type your title. You can use a plain text box: choose the tool on the Tools panel, paint the block, type the text in it and experiment with fonts and sizes. Alternatively, you can choose the Heading: just click on the Source panel on the left and choose the 2D or 3D text.
If you are printing your photo book with PrestoPhoto, you'll want to make the page after the Front cover the back cover. That way pagination for Page 1 starts on the right page, just like it will be when it's printed.
Step 3. Create your photo book interior pages
Let's make our interior pages with and text photographs.
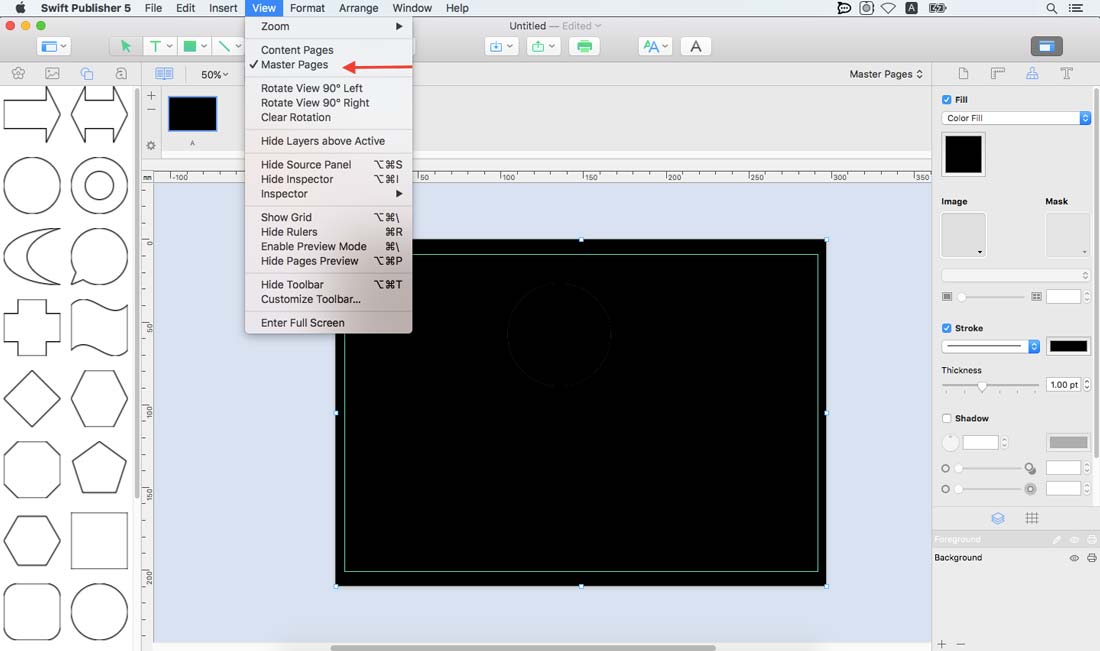
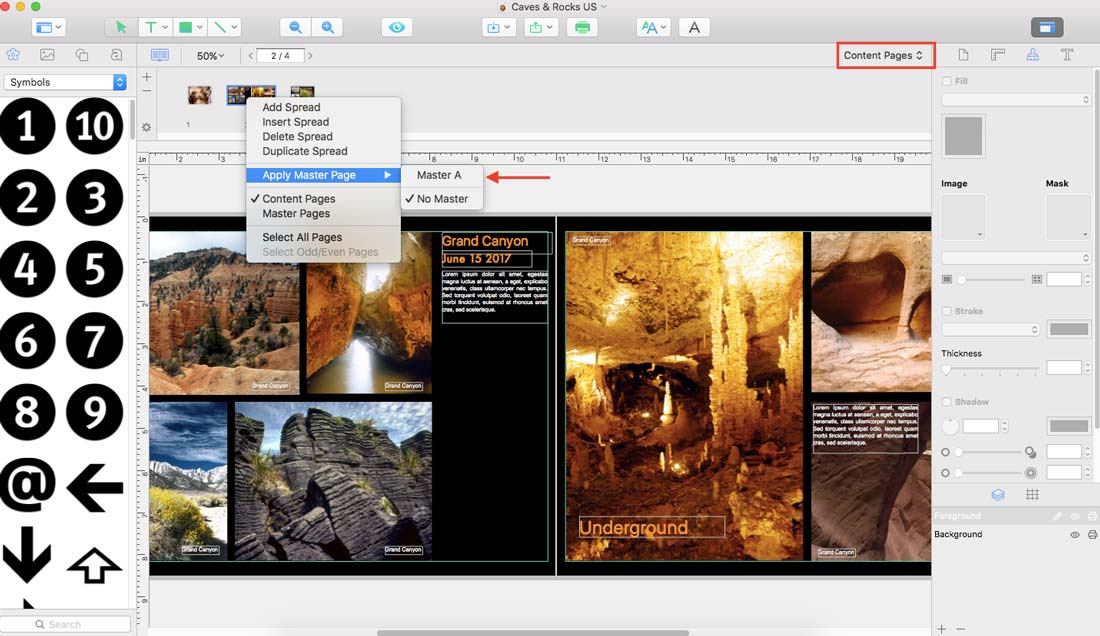
Switch to the Background layer to work with it. You can create a background for each page separately or create one for all pages at once. If you want to minimize the time spent on the background creation, you can use Master Pages: just click View->Master Pages, create a background for your master page and then switch back to the Content Pages. On the Pages panel above the main program window, you can apply the Master Pages to your Content Pages. Just right click on the Content Page and choose Apply Master Page.
Then switch to the Foreground layer and draw placeholders for your photos.

Choose the Rectangle tool and draw as many rectangles or squares that you need. You can set the Stroke parameter for each figure to configure the width and color of placeholder border. The Fill option of Inspector should be switched off.
Step 4. Placing your Photos in the interior of the book
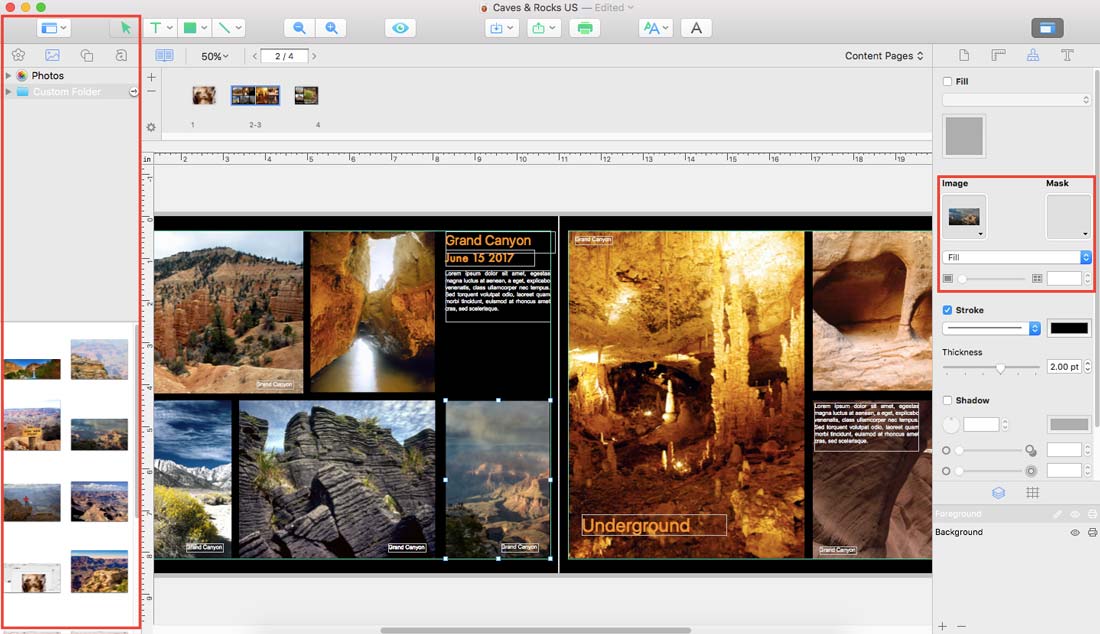
Switch to the Photos tab in the Source Panel on the left and click on the Photos (if you store your photos there) or choose Custom Folders. Then select the placeholder by left clicking on them and drag and drop the photos in the selected placeholder.
After that, on the Appearance tab of the Inspector panel on the right, choose the Fill parameter for the photo to fill the placeholder without distorting the proportions. Repeat the procedure for all the pages of your photo book (except the last one, which is the cover page).
Step 5. Exporting a photo book PDF file for print
It is time to export your photo book as a PDF file, which most printing companies print from.
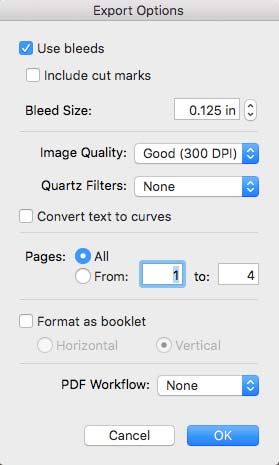
To do that, click on Export in the File menu to open the export parameters and check out the additional options. Typically, you export in PDF format (but you can choose the format you need). Set the Image Quality to 300 DPI. You can also set the Bleeds, if needed; typically, the bleeds set on 0.125” which PrestoPhoto suggests.
Once you’ve completed all these steps, your photo book is fit to print the help of professionals from Presto Photo. Just upload your photo book PDF and select some options, and they'll handle the rest.

Anatoliy Pyatnichenko
This guest post was brought to you by Anatoliy Pyatnichenko from BeLight Software, creators of Swift Publisher.