
Making Apple Photo Books with Apple Pages
Starting a new Photo Book can be daunting, but we're trying to make it a little easier with these simple steps for Apple Pages
By Tim Weaver
Designer at Presto Photo
With Apple Photos discontinuing photo book creation within the Mac Photos app itself as of macOS Mojave 10.14, and all print support ending on Sept. 30th 2018, you might be panicked looking for a new way to make your books. Don't fret, Apple already has one of the greatest book creator apps on your Mac: Apple Pages. Apple Pages allows users to create books at any size they want, with just a little bit of elbow grease. Here are some tips and tricks in how to make your own photo book creation today. Use Apple Page to create apple photo books!
Picking your Book Theme

We have created a set of book themes (which we call templates) based off of Apple photo book themes from Photos, iPhoto, and Aperture, so if you had a favorite, we probably have it (unlike most photo book services). Download the templates from our website or download our macOS app from the app store to pick the perfect book theme for you. In this blog post, we are going to assume you are using one of our Apple themed templates to get started.
About Apple Pages
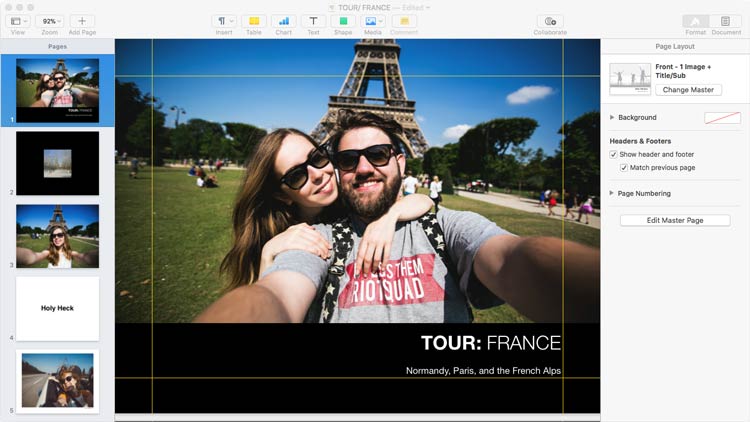
Now depending on which version of Apple Pages you have, making a book is easier or harder. Pages 5 (2013 to 2016) doesn't have a few features, like Facing Pages (allows you to see your book as spreads, so you can better tell how your book will look flipping through it in real life (also called two-page spreads)) and Master Pages (which allows for easy reuse of pages designs over the course of a project). When Pages 7 comes along in 2018, we get these features, which is fantastic and makes book making much easier. On the site and in our app, we look at which version of macOS you are running and determine which Pages template version is best for you. For help with Facing pages, check out this help page. For Master Pages, check out this part of the same help page.
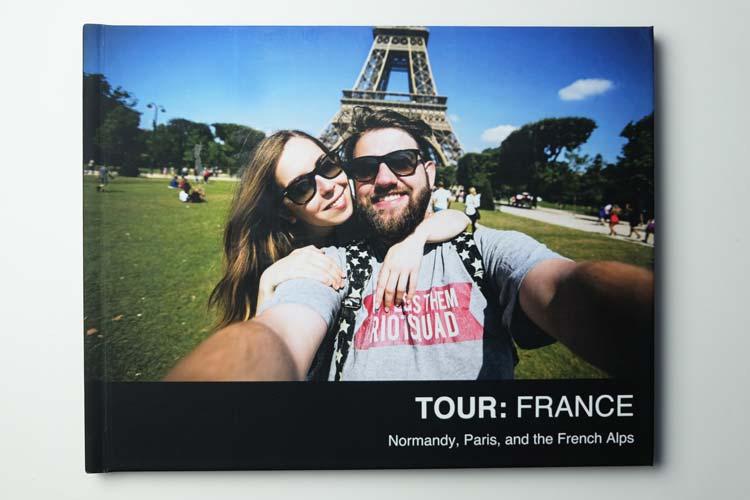
Front and Back Covers
When you start using our templates, you’ll see that our book has a preset number of pages. Depending on the template, there is either 22 or 32 pages by default. The reason for the extra two pages on a 20 page book is that the first two pages in the document are actually the front and back cover. This makes pagination with the finished PDF much easier, and it’s not hard to get used to. So even though there are 22 pages in the document, it’s actually a 20 page book with a front and back cover.
We suggest a minimum of 20 pages, any smaller than that could have issues during the binding process. The design is all set up, but if you want to move things around that is fine as well. We suggest you keep anything important within our preset yellow guides (they are .5 inches away from all four sides of the page). These yellow guides are what we like to call a safety area: anything within them should print exactly as you see it. If you move past this area, you have the chance of accidentally cropping off increase greatly. If you want to play around with the design of the book you can, but be aware of that as you move through.
Front Cover Guides
Interior Page Guides
The front and back cover has a slightly different setup for your guides: they are a full inch away from the outside edges, due to how hardcover photo books are printed: more of the cover is used in wrapping the image around the cover material. Below are images illustrating the front cover and how it wraps around.
Front Cover of an Imagewrap Hardcover
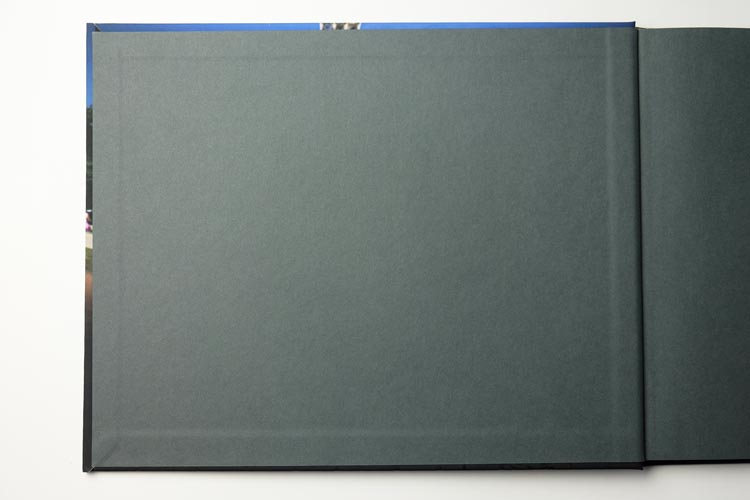
Interior of Front Cover, you can see around the edge where the Image wraps to the back
As for the cover difference, that is because our Hardcovers have the printed cover wrapped around the cover material, which means the printed parts at the edge of the image will actually be on the back of the inside cover, as seen here:
Image of an inside front cover and outsidePlacing photos and text in your photo book
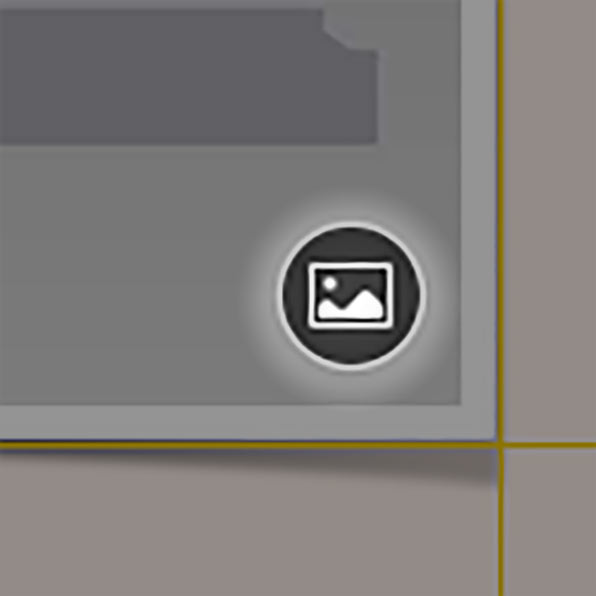
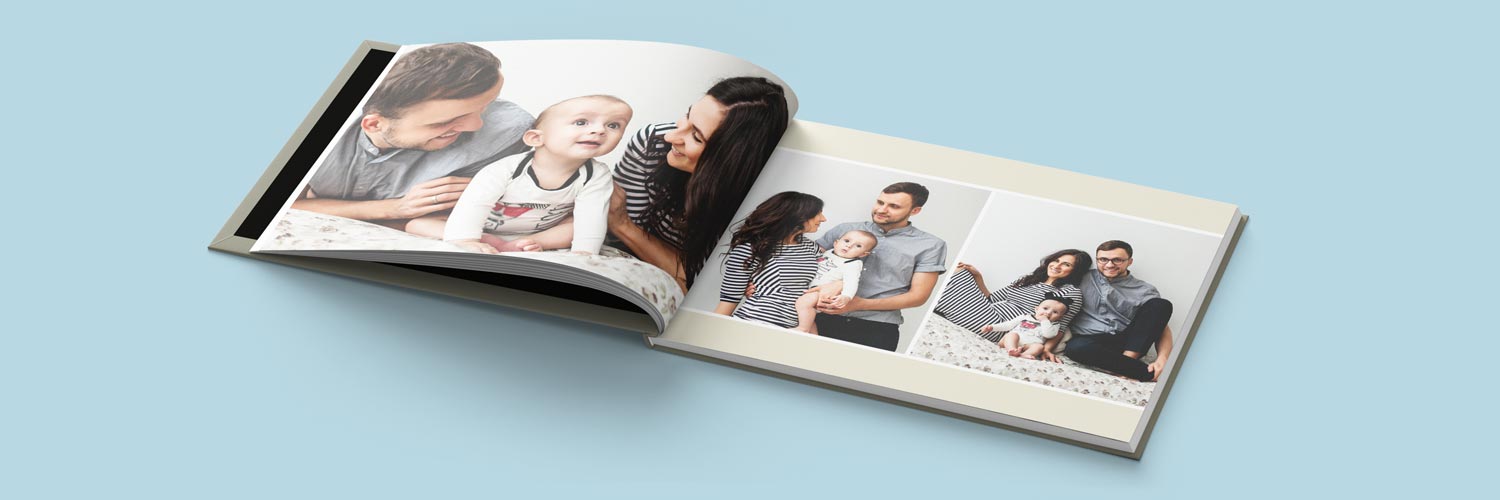
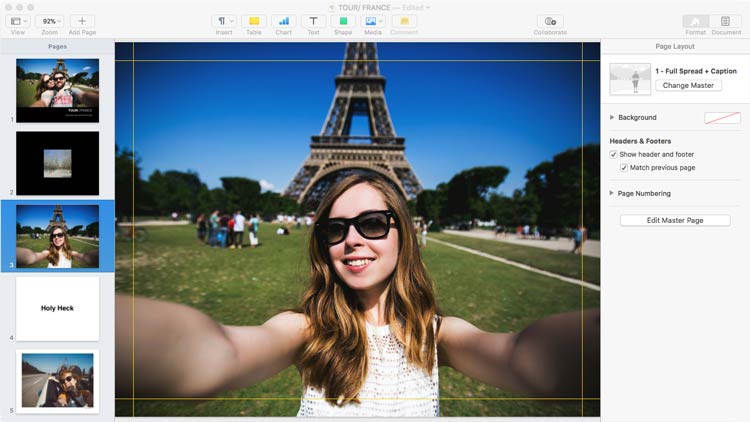
In our Templates we have preset areas for you to place your images within the design already, just like most photo book making programs. In the bottom right corner of the placeholder image is a icon you can click to replace it with one of your own photos out of your Mac Photos app library. It’s a simple, easy process. Certain template designs have text boxes to fill with your own custom text, but again, be wary of putting text past the yellow guides!
If you run into an issue before you finish your book, check out our Apple Pages Help for information on changing the background color, adding and removing pages, and other customizations you can make.
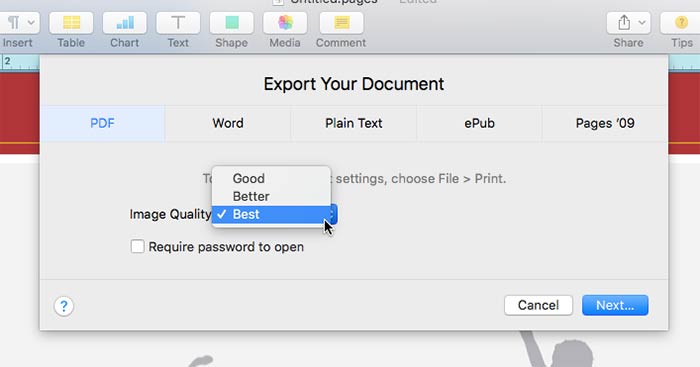
Export your book
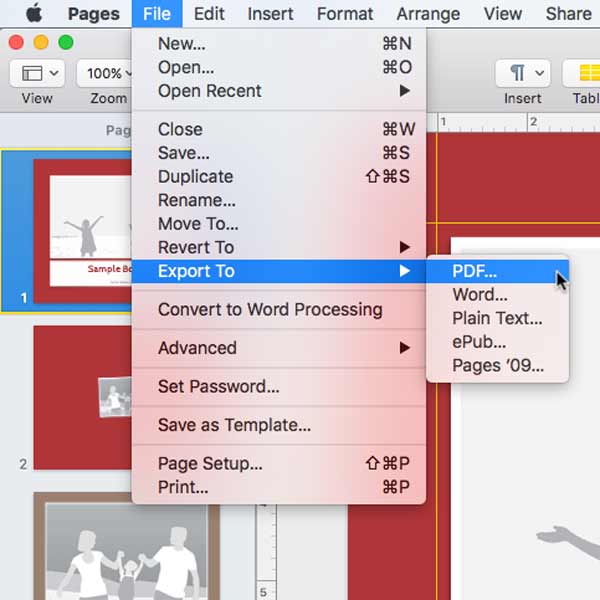
When you have finished designing your front cover, back cover, and interior, now we need a PDF to print from. Go to File-> Export To -> PDF… and a dialog box will pop up with a drop-down menu for Image Quality. Choose Best and save the PDF file onto your computer.
Upload your book
The hard part is over, now for the easy stuff: just upload the PDF file to our website, and place your order for your physical photo book. If you need any further help with this process, we have a step by step tutorial to help out.
While you place your order, you’ll see a few options for how you want your book printed at the Buy Now page, a lot more than you may be used to if you’ve only ordered from Apple before. If you used one of our landscape template themes, what you may not have known is that you can get the same designed book at 9”x7” Photo Book, 10”x8” Photo Book, 11”x8.5” Photo Book, 13”x10” Photo Book, or 14”x11” Photo Book.
Not only that, but choices for if you want Imagewrap Softcover, Imagewrap Hardcovers, or Diecut Hardcover, and as an Imagwrap Hardcover you have a choice to print your book in the standard binding, or as a new option, our Layflat Photo Books, which comes in two styles: Seamless Layflat Photo Books or Hinged Layflat Photo Books. If you want a dust jacket, you’ll have to stick to our 13”x10” or 11”x8.5” Imagewrap Hardcovers (dustjackets are currently unavailable for our Layflat line). We’ve seen a lot of customers order various sizes and hardcover and softcover at times, but you only have to get one if that’s right for you.
Now just sit back with a cup of coffee (or tea if that’s your thing, no judgement here), and your custom made high-quality photo book will begin its journey from printing to shipping to on your coffee table. Maybe think up the next book while you wait?

Tim Weaver
Tim is a North Carolina native, extreme book geek, and sometimes thinks he's an artist. When he's not whipping up amazing graphics and designs for Presto Photo, he's probably sipping a coffee with his cat.