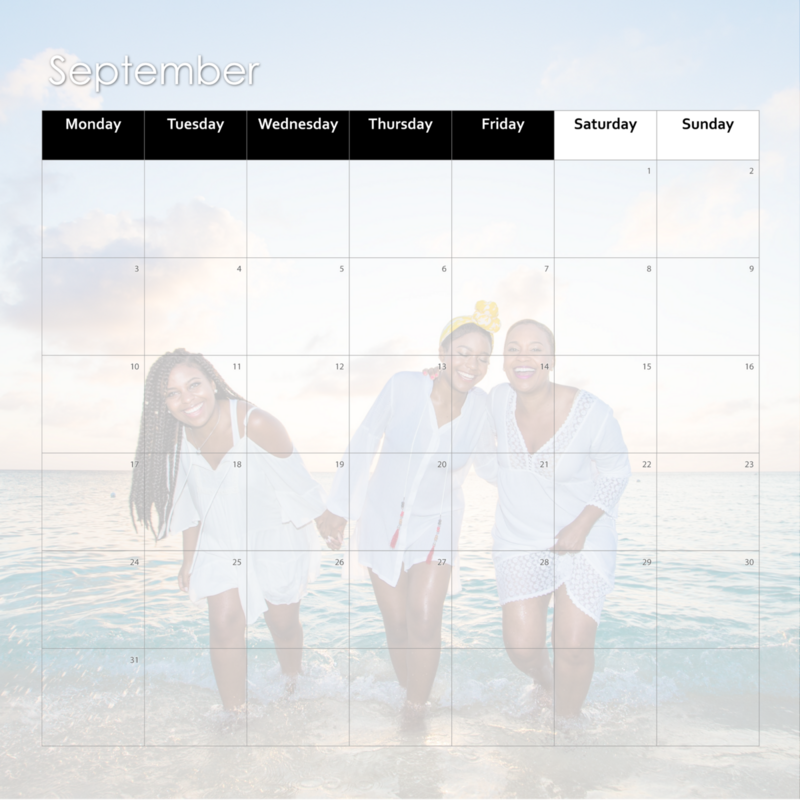
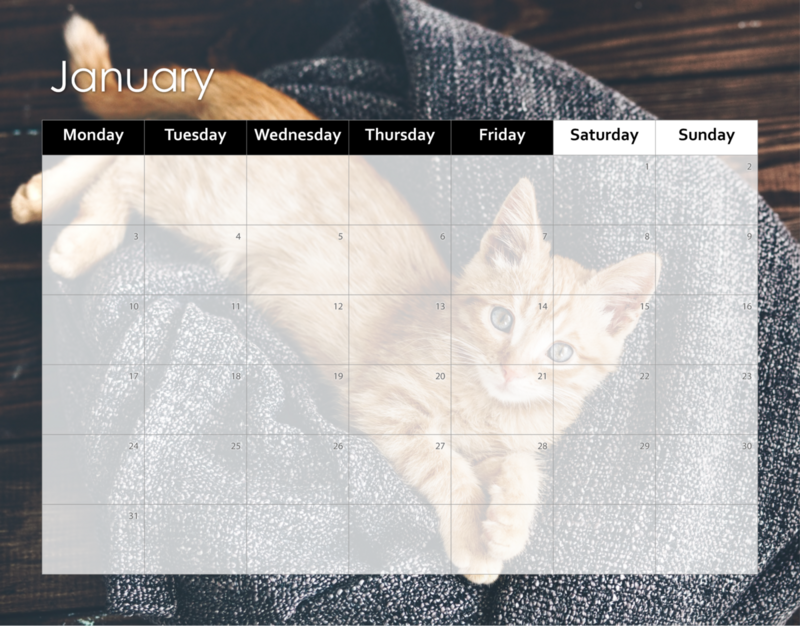
Photo Collage -
By Book Designer FREE
Use our Mac OS Photos Extension

![]() Google Photos Compatible
Google Photos Compatible
The best photo book software for your Mac and iPad is Apple Pages with the Presto Photo Book Templates.
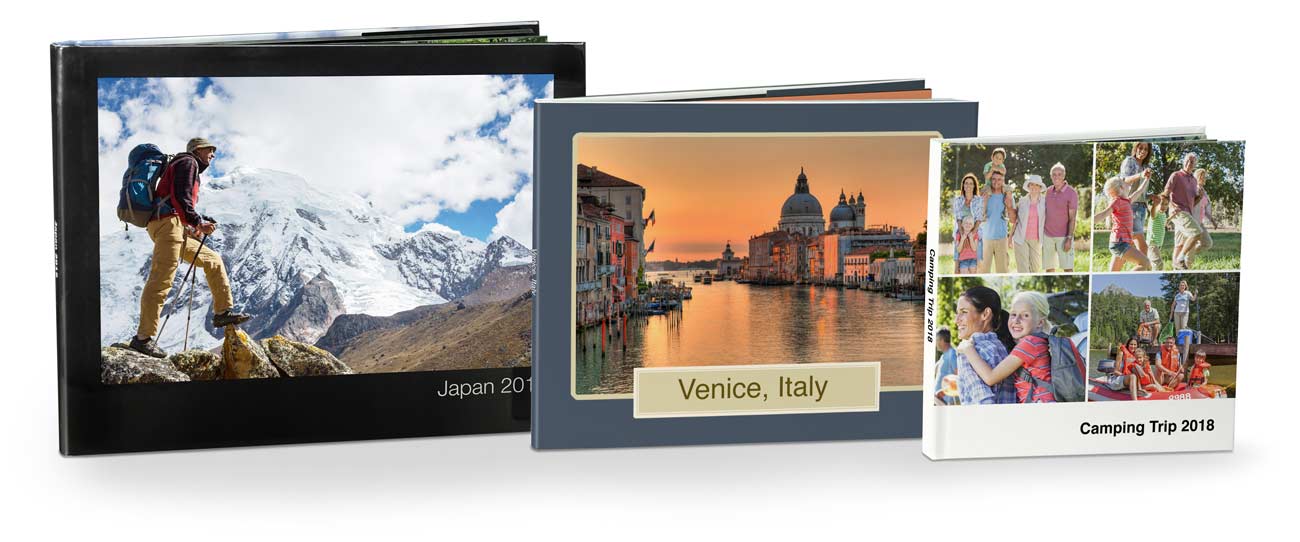
Apple Pages is the best photo book software already on your Mac and iPad. By using the Presto Photo Book Templates for Pages, easy drag-n-drop book making is at your fingertips. You have more control and flexibility than iPhoto, Photos or even Aperture, and Pages utilizes your existing photo libraries. Use Apple Pages to create apple photo books!
Since Apple has discontinued its printing services, Presto Photo has stepped up and now offers templates that are comparable to those in Photos, Aperture, and iPhoto. These templates allow you to create books consistent with what you’ve been making with Apple over the years. Please note, these templates are similar to the original, but do have some variations are in no way endorsed by Apple Inc.
If you've never used the Apple Pages portion of the PrestoPhoto macOS App, here's a quick run down of how it works:
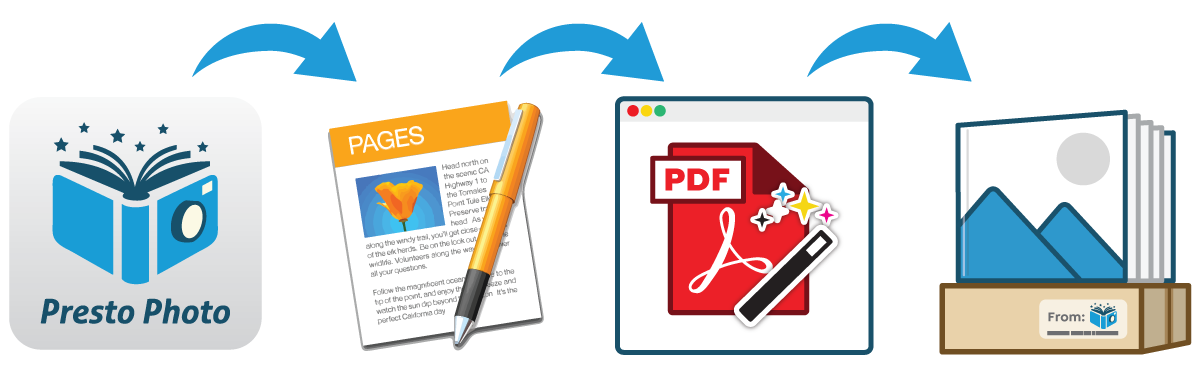
Start by downloading our app below. From there, install a Apple Pages template from the list provided. Customize it with your own photos, and export it to be uploaded to Presto Photo. Fill out all the necessary information, place your order, and a customized photo book will be shipped directly to you! Simple, easy, and at a price none of our competitors can beat.
Latest Release available in macOS App Store:

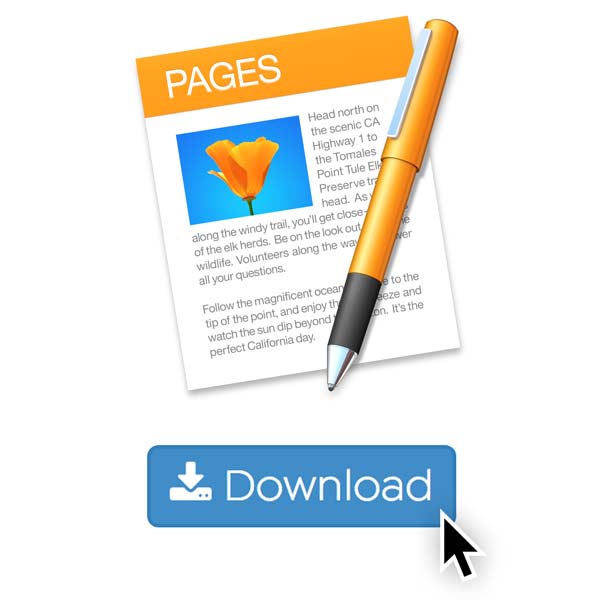
Start by downloading one of our Pages templates.
Unzip the file and start a new Pages document. Simply click on the button in the bottom right hand corner of a placeholder image and load in an image from your Photos or iPhoto library.
Export a PDF of your project, and then upload it to PrestoPhoto!
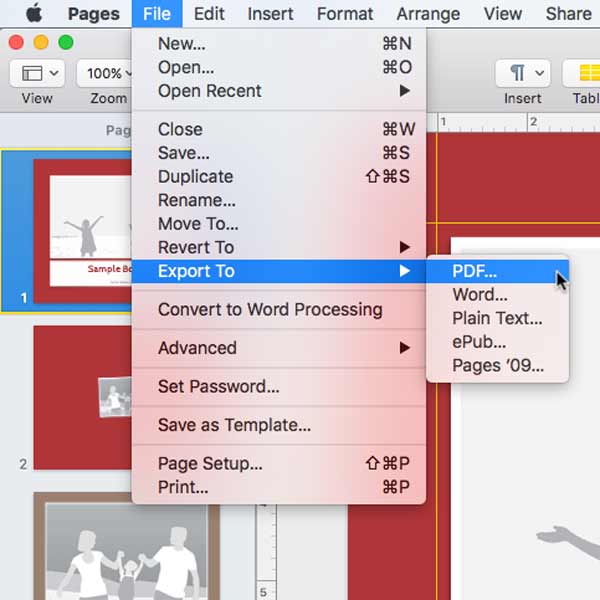
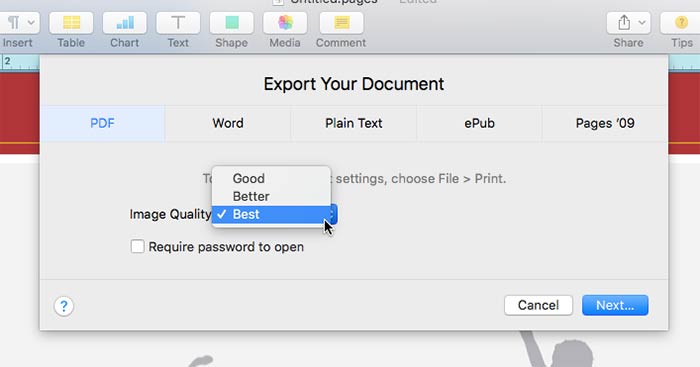
Export a PDF by going to File > Export to > PDF…. You will be prompted to choose your Image Quality, use 'Best', and save a PDF to your local computer. Next, upload the PDF to PrestoPhoto.

After you have Exported your Photo Book as a PDF, you can now upload it to PrestoPhoto. You can either upload it here or click on our top menu bar, and go to Photo Books -> Create a Photo Book, and selecting from the popup Upload PDF
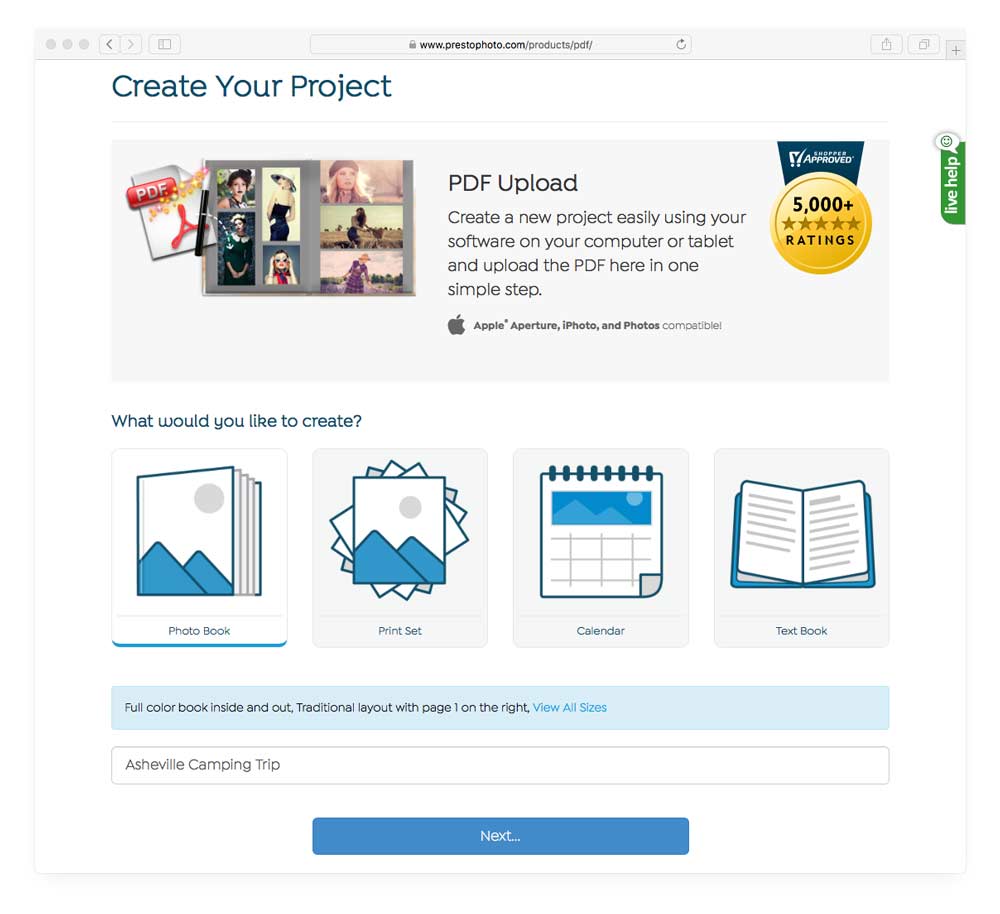
On this page, you start by picking the type of project you want (you want the first option, Photo Book, which is pre-selected). Enter a name for a project to help keep track of it
On this page, you start by picking the type of project you want (you want the first option, Photo Book, which is pre-selected). Enter a name for a project to help keep track of it
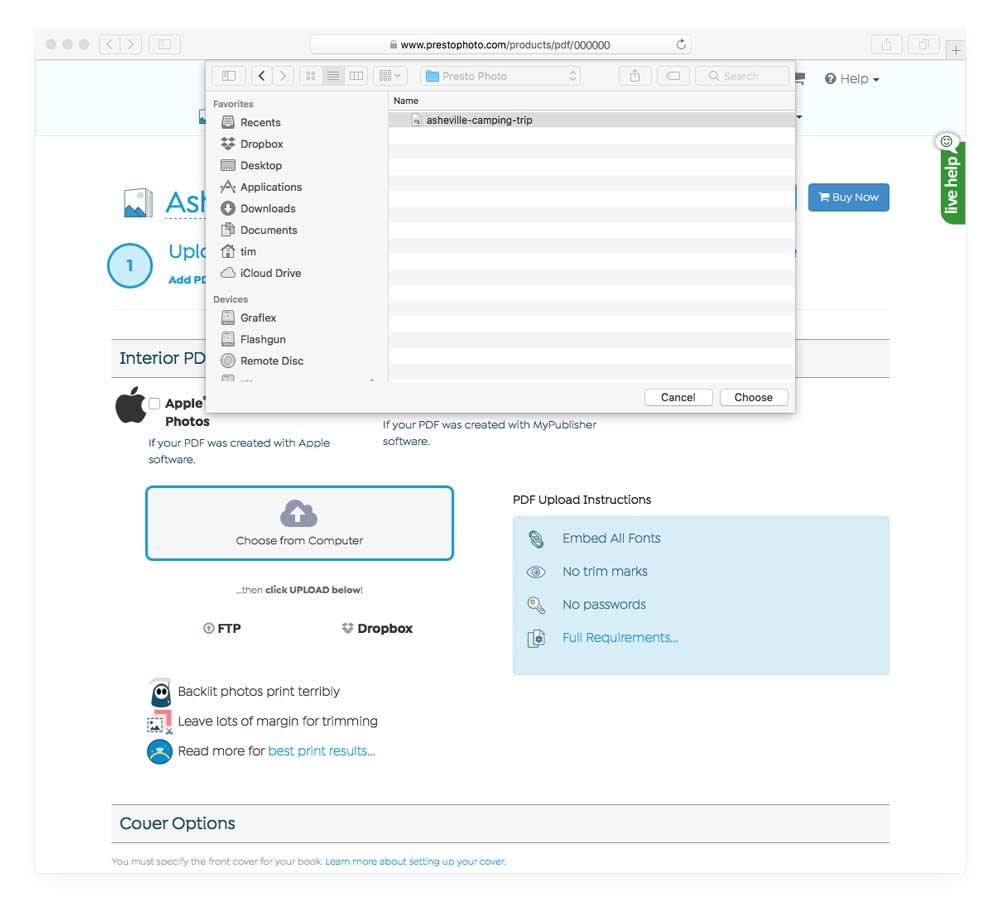
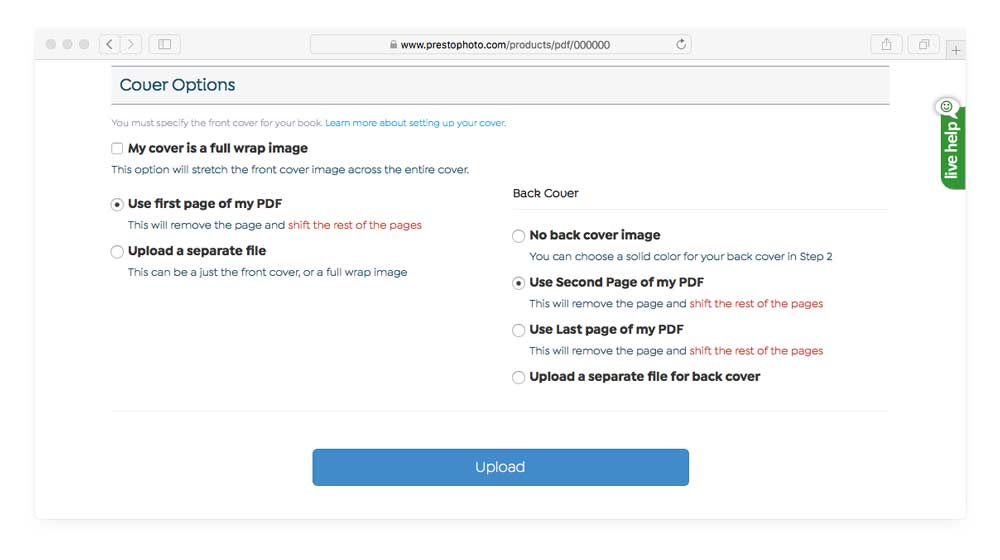
Click on Choose from Computer, and then find your Photo Book PDF and select it, then press open. Scroll down the page to Cover Options, and you want to select Use first page of my PDF from the left hand column of the cover options, and then to the right are the back cover options, select Use Second Page of my PDF, and finally click the Upload button at the bottom of the page.
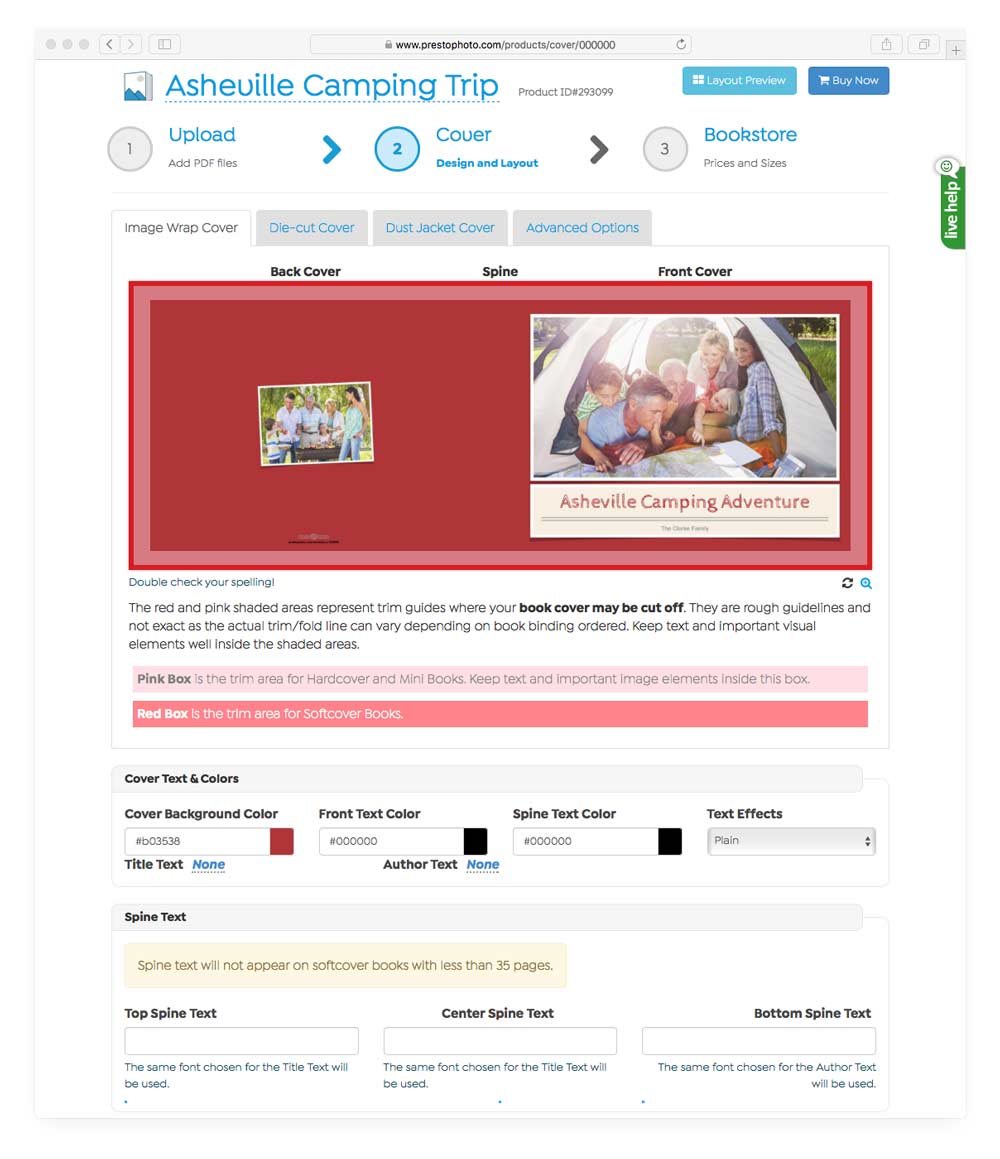
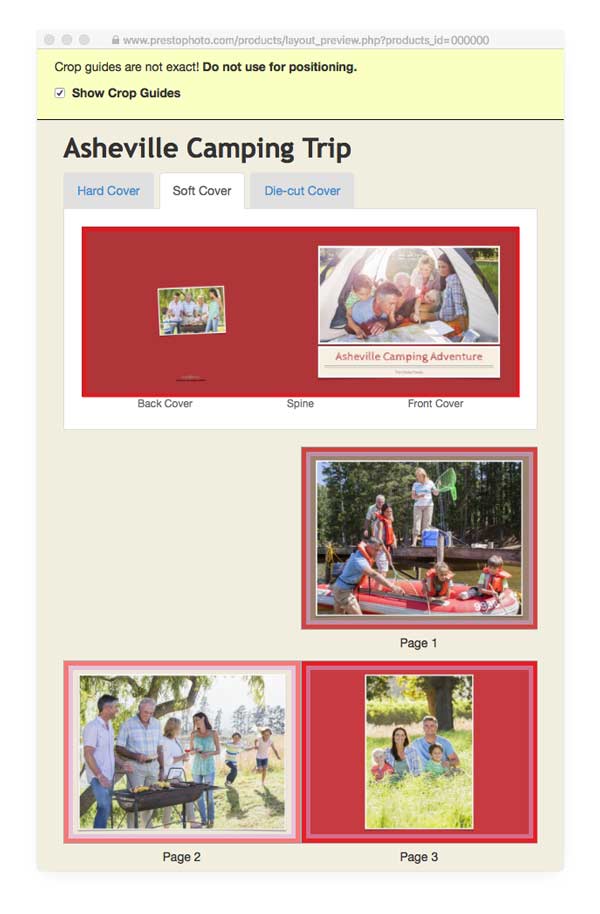
For this step, you can now see a preview of how your book will print by clicking the Layout Preview button in the upper right hand corner. If your book is being printed as a hard cover or is a soft cover over 35 pages, you can also enter text for your spine on this page. At the bottom of the page is an area to change where the info box information is printed on your book if it is ontop of any inportant design elements. Once done, go back up to the top of the page and click on Bookstore.

If you would like to make your book available in our bookstore for anyone to buy, check the List product in webstore checkbox. If not, click Buy Now.

Select the size and cover material you would like to purchase your book in. We have our most popular options at first, if you don't see your desired option click on All Sizes to see all available sizes. Choose how many you want and select Add to Cart and checkout!
You're all done! Enjoy your custom made photo book and start cooking up ideas for the next one.
If you haven't used Apple Pages for book layouts before, we've got a set of tips and tricks to help out.

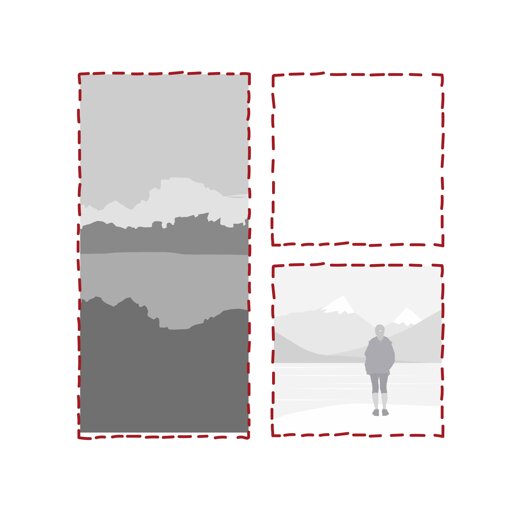
There are Yellow Crop Marks around all of the template pages. They are what we call the “Safe Area”. Anything within this area will safely print. If anything is placed beyond these marks runs the chance of being cut off in the book making process, so we suggest placing anything important within these yellow guides. If you create a new page for this template, you will have to add your own in order to see them.
Turn on your rulers by either going to View-> Show Rulers or hitting the keyboard shortcut Command(⌘) R on your keyboard. From there, you can drag and drop the yellow guides by clicking on the rulers and pulling them to the desired location. For interior pages, use the following coordinates: x: 0.5 in, x:12.75 in, y 0.5 in, y:9.75 in. For covers it's a little different, use the following coordinates: x: 1 in, x:12.25 in, y: 1 in, y:9.25 in.
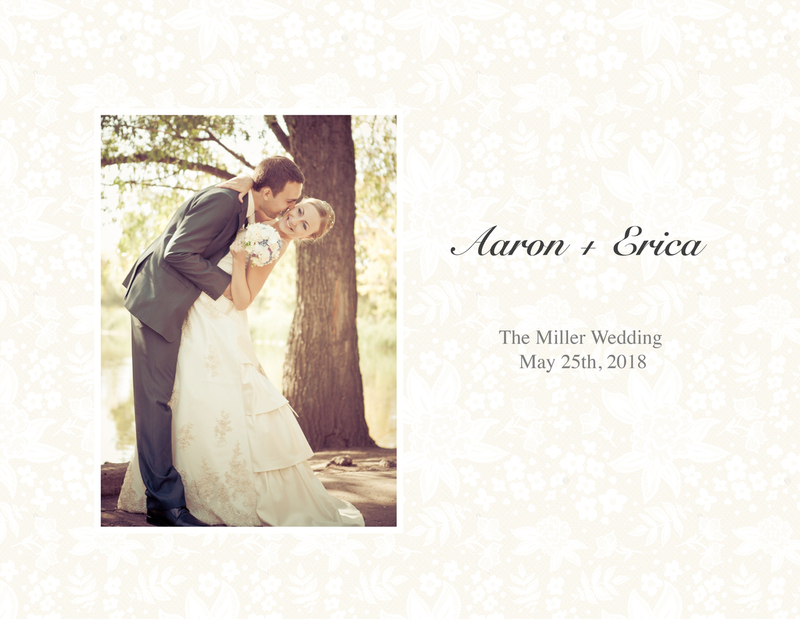
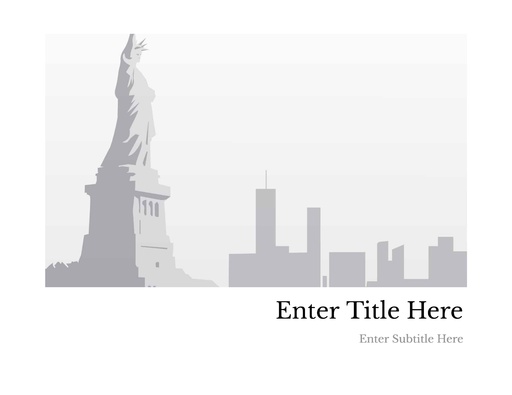
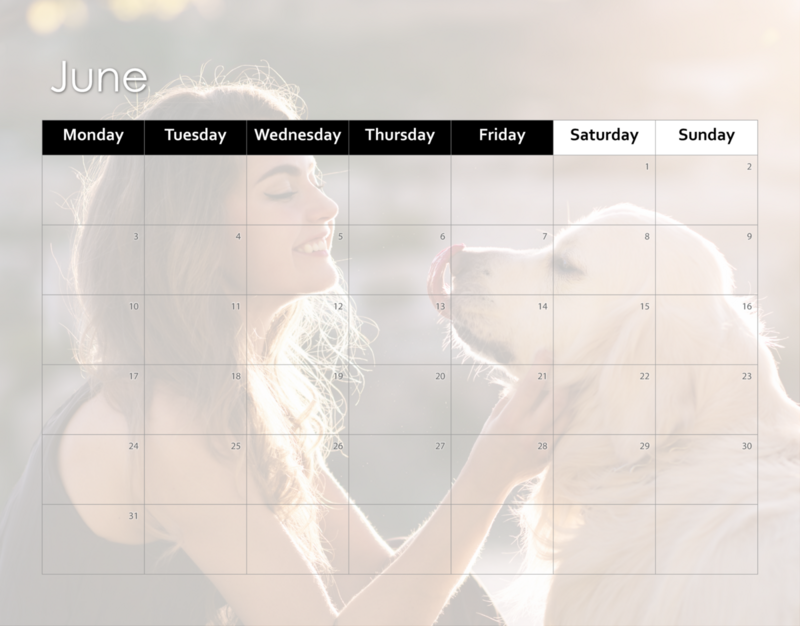
Front Cover (Tempalte Page 1) Left, Back Cover (Template Page 2) Right
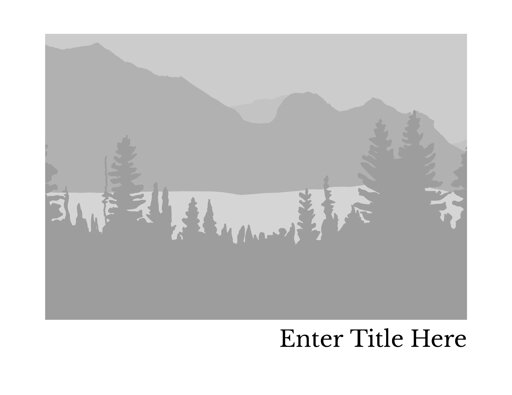
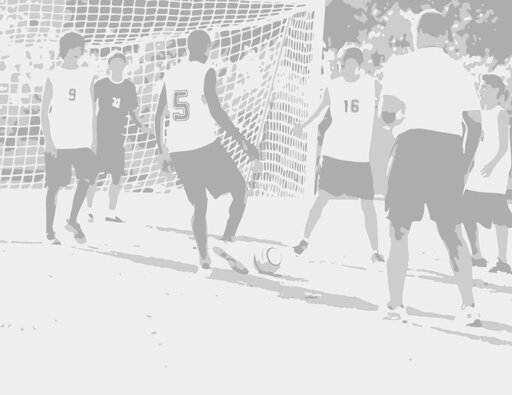
Page 1 (Template Page 3) Right
The layout of our Pages templates works like this: Page 1 is our front cover, Page 2 is our back cover, and from Page 3 on is the interior of the book (Page 3 of the template is Page 1 of the interior, Page 4 of the Template is Page 2 interior, and so on).
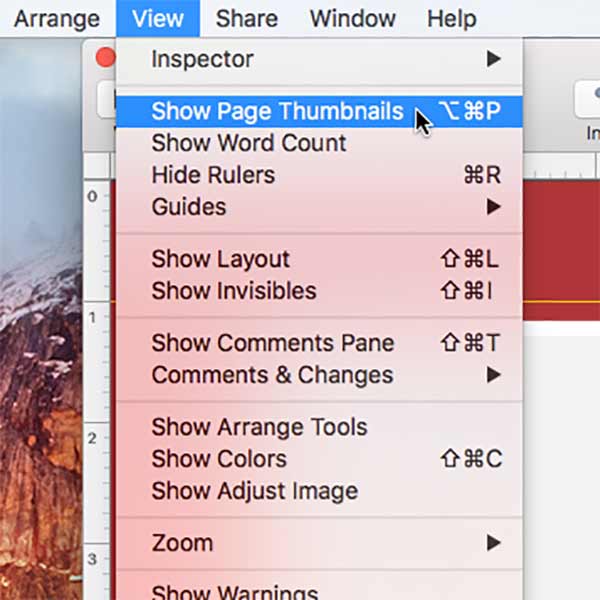
Quickly view your page layout by turning on Thumbnails: View->Show Page Thumbnails. The first page is your Front Cover, the Second will be your back cover, and the rest is your interior pages of your Photo Book.
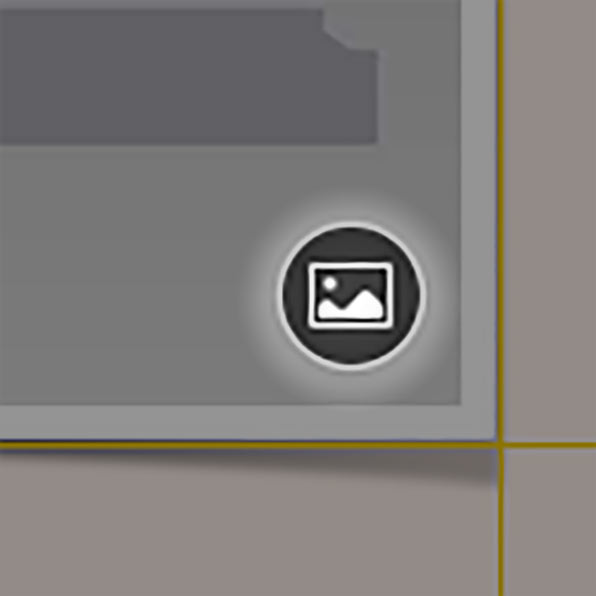
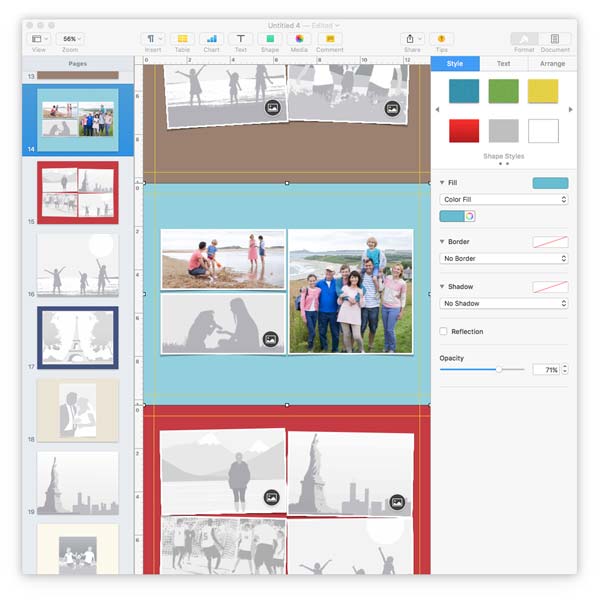
Click on the button on the bottom right hand corner of the placeholder images to replace them with your own photos from Apple Photos or iPhoto photo library.
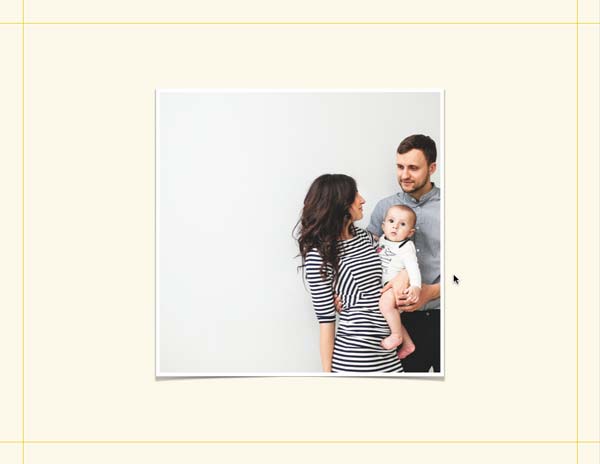
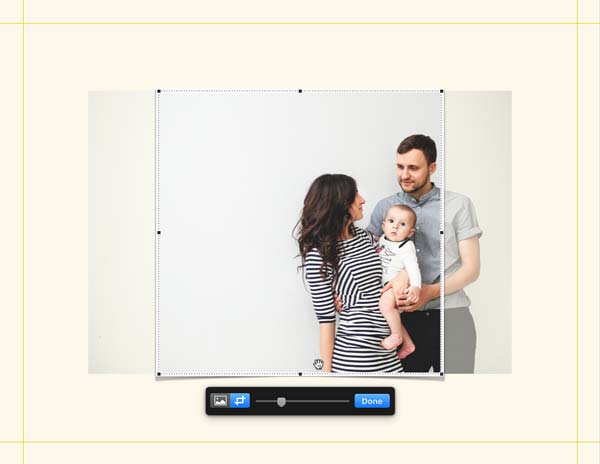
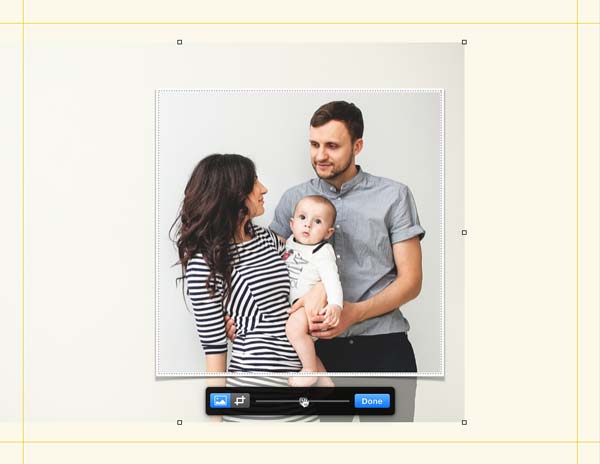
Once you've placed your image, you can now reposition and resize it as you desire. Double click on the image and a pop-up will show up, and you'll also see all of your image, with some of it grayed out (the area currently cropped). Slide the image around with the cursor on the image, and change the size with the sliding bar on the bottom pop-up.

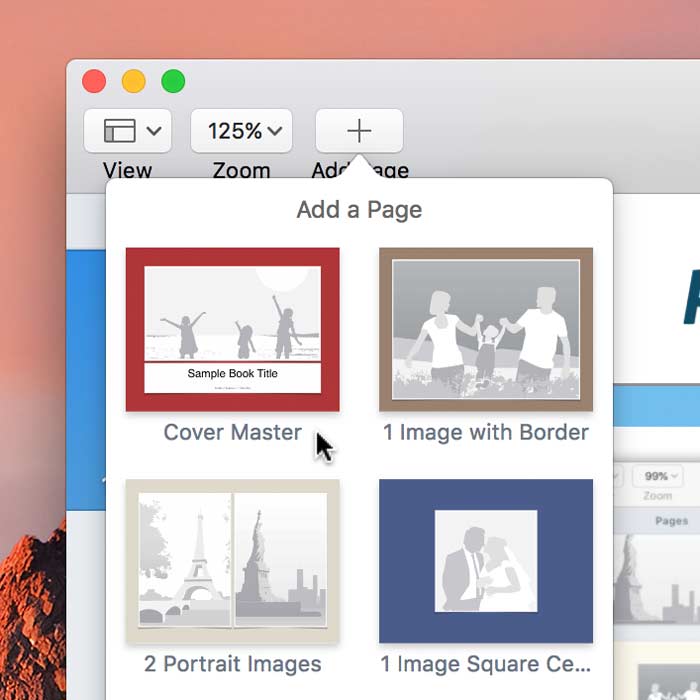
Pages 7 and 8: Click on the + in the top right hand corner of the window, and you will have access to all of the Master Pages for the template. Add as many pages to your book as you like, it's simple and easy. To remove pages, with the Page Thumbnails pane open to the left, right click on a page and select Delete, and the page will be deleted. You can also left click on the page thumbnail and hit the Delete Key on your keyboard to delete the page.
Pages 5: Pages 5 does not have Master Pages, but you can add pages. Go to Insert-> Page and place a new page where you would like. To copy a design, select the page you would like to copy and go to Edit -> Duplicate Selection, and you'll have a direct copy of that pages design. Another way is to simply select all of a page style you would like to copy, press CMD + C, go to your new blank page, then hit CMD + v, and it will place the design.
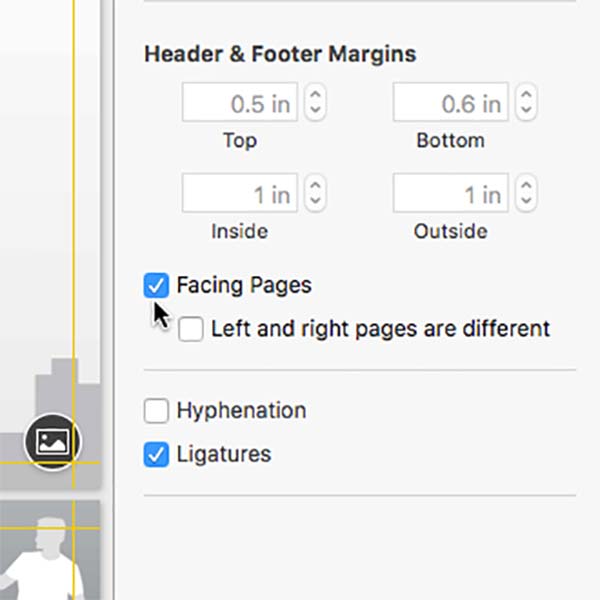
This is a Pages 7 and 8 feature. To get a better look at your book, click on Document in the top right hand corner beside Format, and go down to the Header & Footer Margins section, and check Facing Pages. Now your pages will be shown as spreads in your Thumbnail Preview as well as the working pages themselves.

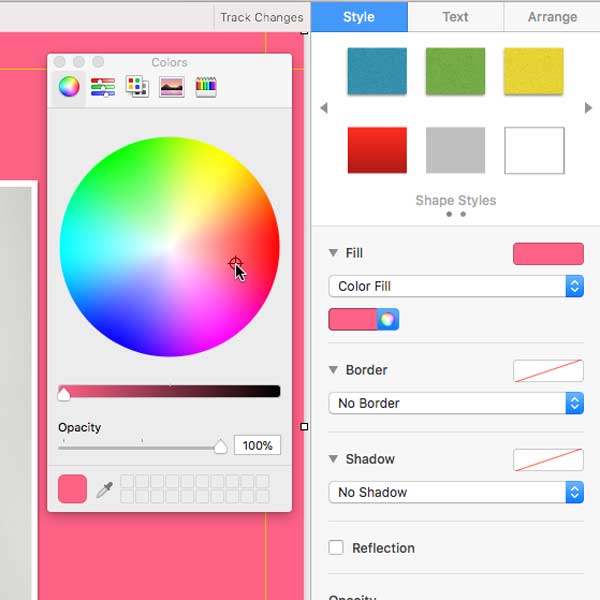
If you would like to change the background color of your page, first you will have to unlock the background. When you click on the background area, you should see eight gray X's show up on the outter edges of the background (one on each corner, and one in the middle of each side). To the right, the Arrange pane should have popped up, and find the Unlock button right beside the Lock button.
Now that the background is unlocked, click on Style (should be to the left of Arrange), and under Fill, below the dropdown box, is a color picker. To the left is a few present colors in a drop-down, but to the right is a massive color picking tool with 5 separate ways to pick the right color for you. Once selected, it's best to lock your layer again. Click on the background, go to Arrange, and now hit the Lock button to keep your background from accidentally shifting around.
As an added bonus, our Pages Templates also work with Pages for iPad. The process of starting is a little different, so here are some steps to get started.
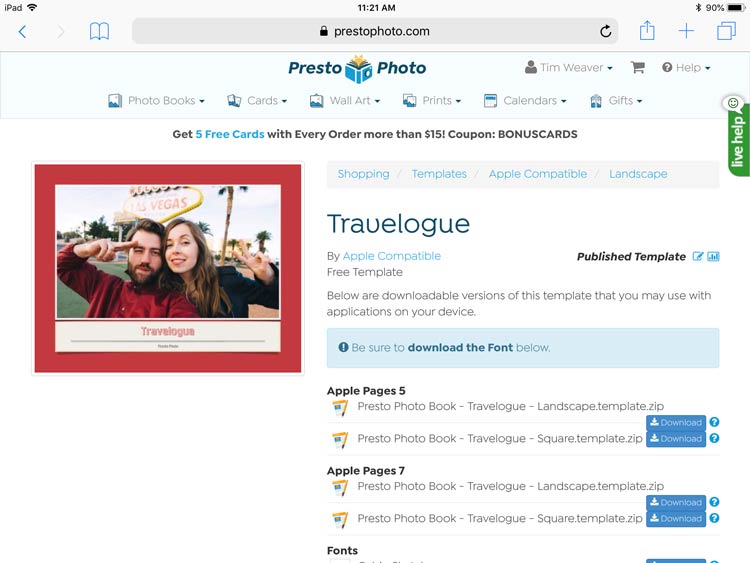
Look over our list of Apple Pages templates and pick one you want to use in Safari (we recommend using Safari for this process). Tap on the Pages 7 download link.
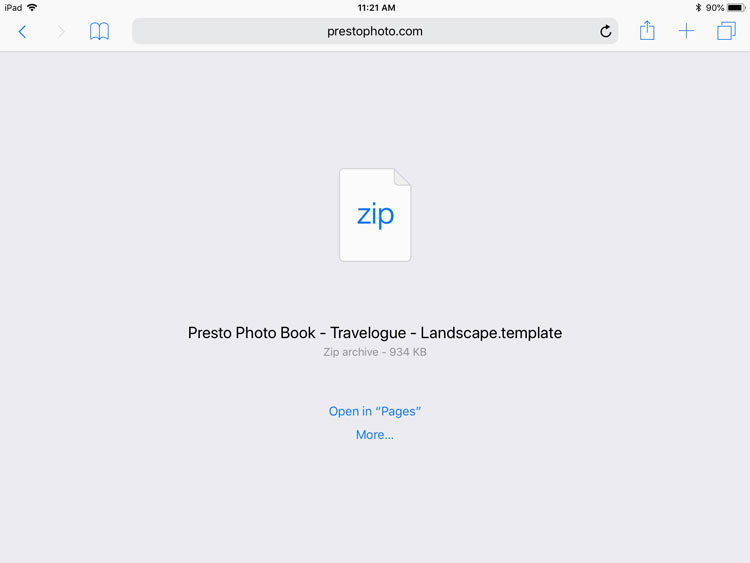
Tap on Open in "Pages"
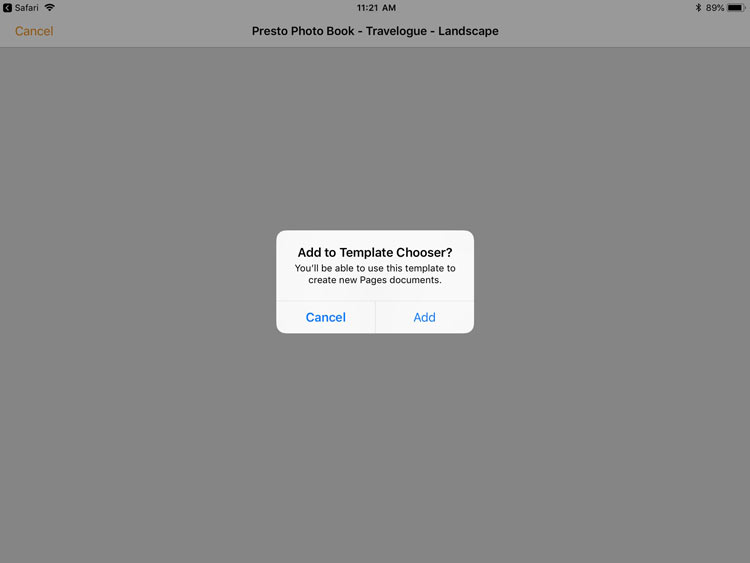
Add the template to the template chooser, you'll see what this does next.
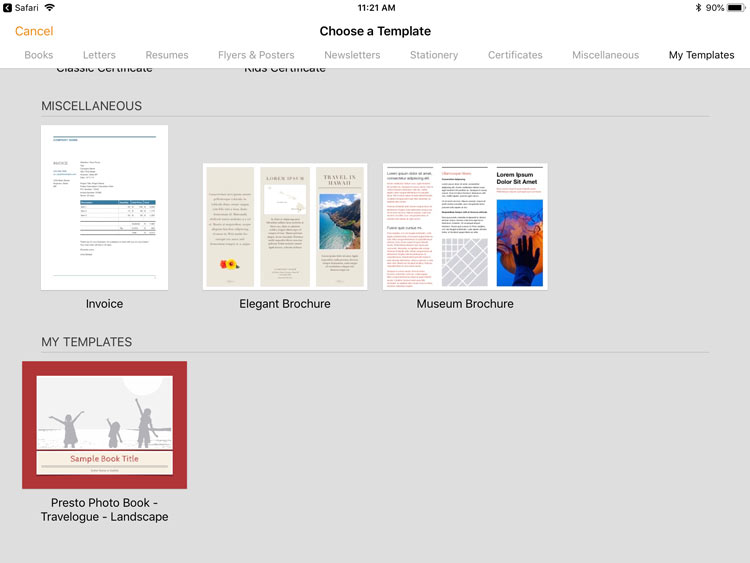
Pages will open all the templates you have in Pages, and take you to your newly installed Pages template at the bottom of all of your templates in the My Templates area. Just tap on the template to get started
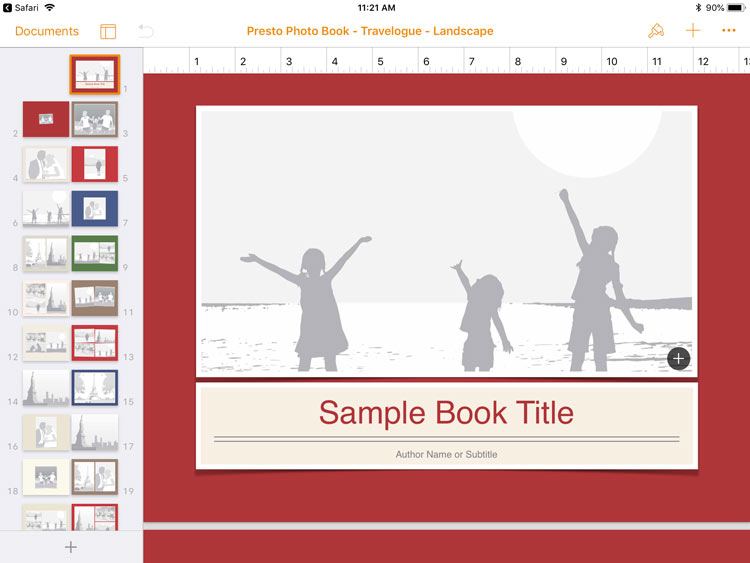
Start adding photos or your own text to make your own custom photo book!
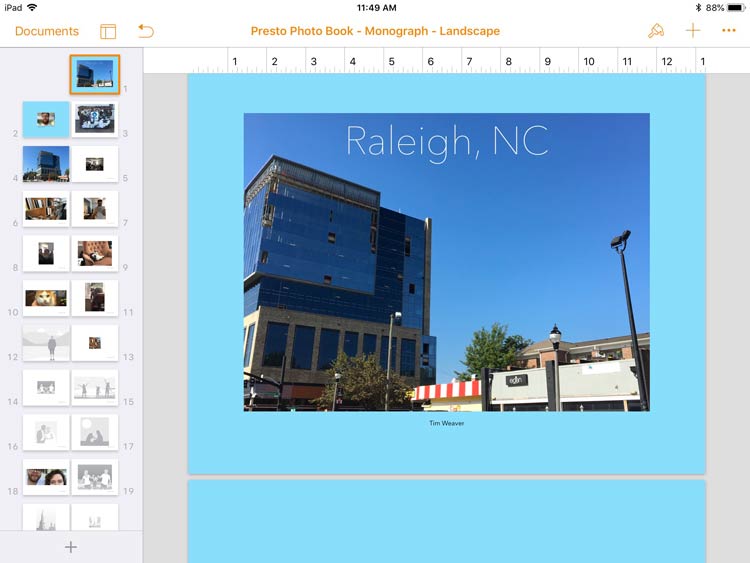
Tap the 3 dots in the top righthand corner to open more options
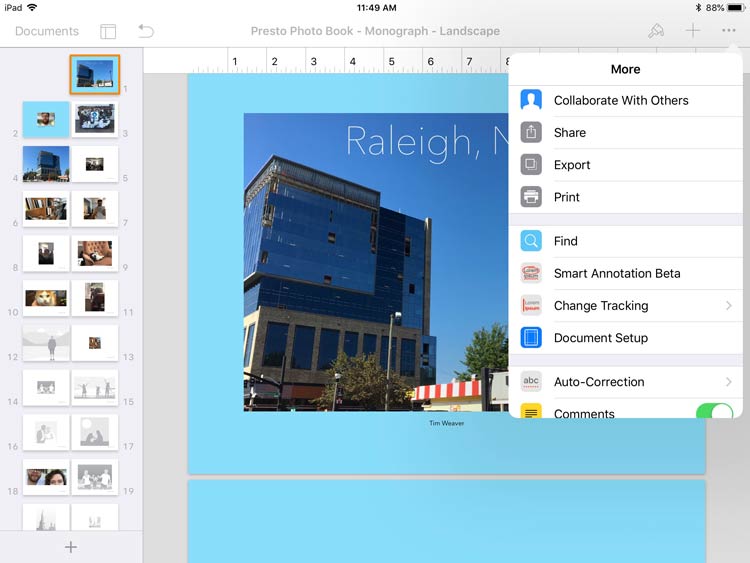
Select Export
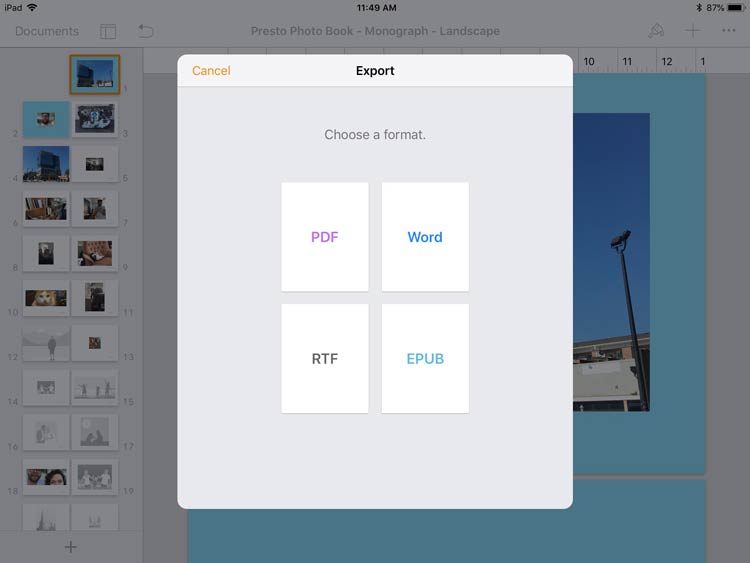
Choose PDF from the Options
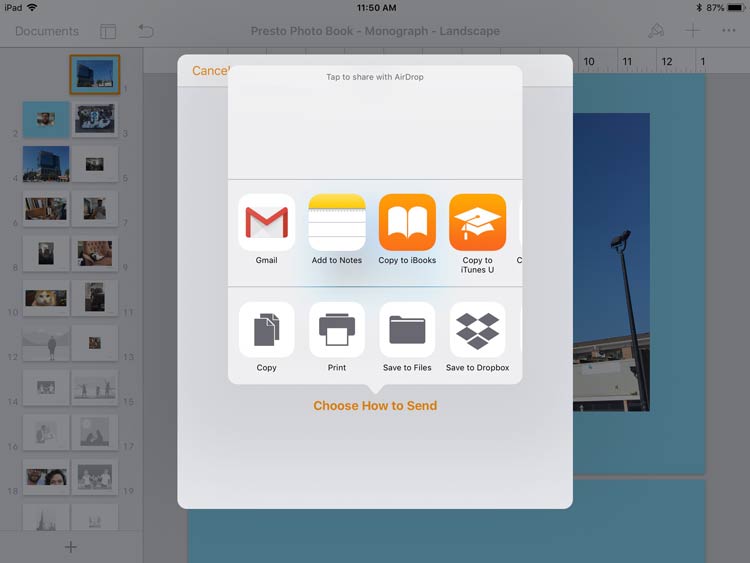
Choose "Save to Files" in the bottom sliding options area
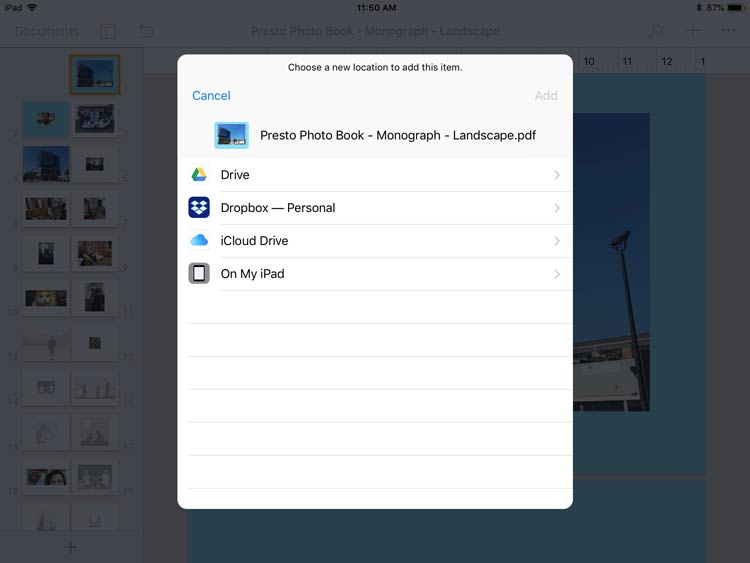
Save the file. Remember where you save it in order to access it later, or upload the file directly to Presto Photo from your iPad.
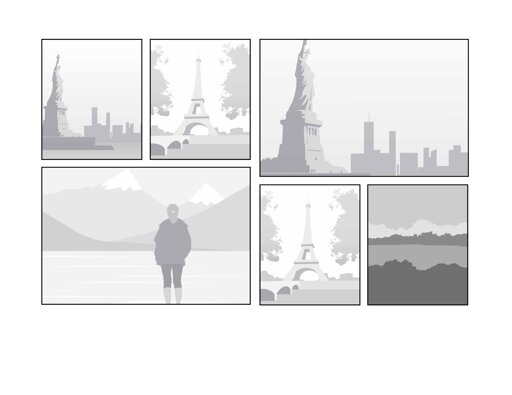
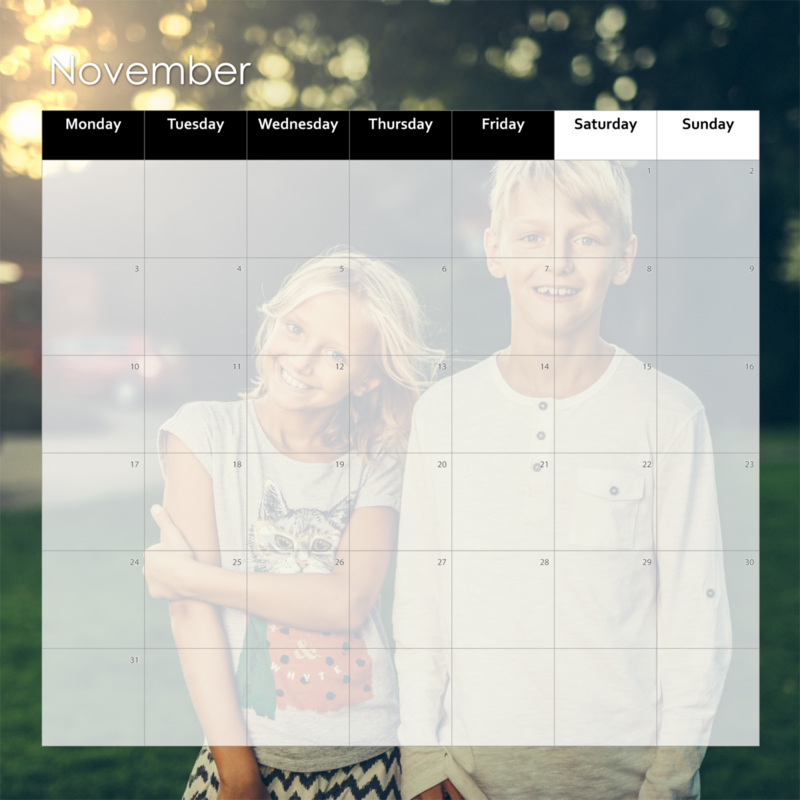
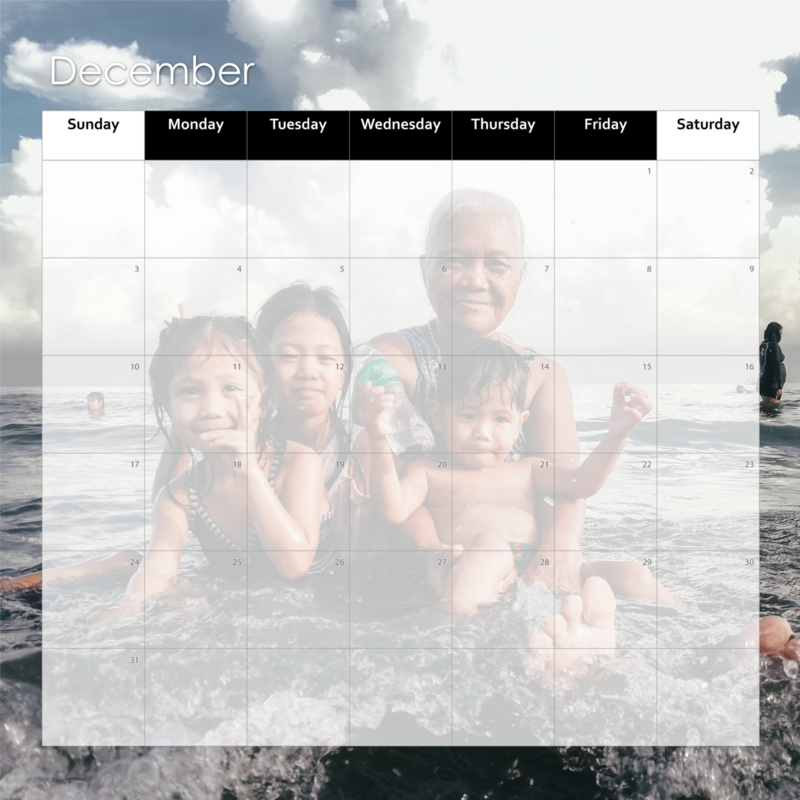
The most productive feature of Pages is the Templates. These allow creation of a beautifully laid out book in just minutes. All you need to do is drag and drop your pictures and add your text.
By Book Designer FREE
By Book Designer FREE
By MJ FREE
By MJ FREE
By MJ FREE
By Apple Compat... FREE
By Apple Compat... FREE
By Apple Compat... FREE
By Apple Compat... FREE
By Apple Compat... FREE
By Apple Compat... FREE
By Apple Compat... FREE
By Apple Compat... FREE
By Apple Compat... FREE
By Book Designer FREE
By Book Designer FREE
By Book Designer FREE
By Book Designer FREE
By Book Designer FREE
By Book Designer FREE
By Book Designer FREE
By Book Designer FREE
By Presto Yearb... FREE
By Presto Yearb... FREE
By Presto Yearb... FREE
By Presto Yearb... FREE
By Presto Yearb... FREE
By Presto Yearb... FREE
By Presto Yearb... FREE
By Apple Compat... FREE
By Alice FREE
By Sydney FREE
By Apple Compat... FREE
By Apple Compat... FREE
By Apple Compat... FREE
By Apple Compat... FREE
By Apple Compat... FREE
By Apple Compat... FREE
By Apple Compat... FREE
By Apple Compat... FREE
By Apple Compat... FREE
By Apple Compat... FREE
By Apple Compat... FREE
By Apple Compat... FREE
By Apple Compat... FREE
By Apple Compat... FREE
By Apple Compat... FREE
By Apple Compat... FREE
By Apple Compat... FREE
By Apple Compat... FREE
By Apple Compat... FREE
By Apple Compat... FREE
By Apple Compat... FREE
By Apple Compat... FREE
By Apple Compat... FREE
By Apple Compat... FREE
By Apple Compat... FREE
Check out our YouTube videos for information on placing or resizing your photos, changing background colors, and more!
Live Chat Hours: Monday-Friday, 9AM-5PM EST
PrestoPhoto provides Apple comparable templates to help you create books consistent with what you’ve been making with Apple over the years. Our Photo Books are in no way endorsed by Apple Inc, however we have worked hard to make sure they match the look and feel of your existing books. These templates are similar to the original, but do have some variations. Apple, the Apple logo, iPhoto, Pages, and Aperture are registered trademarks of Apple Inc.


Comments
Crop guide question
Does this mean that we need to submit pages that are 8.75x11.25 or that you take our 8.5x11 pages, scale them up, and then trim off 1/8"?
My book has a black background; I want to make sure there's no trace of white at the page edges in the finished product.
Re: Page sizes
Greetings from PrestoPhoto and thanks for your interest.
Just make your pages 1/4" larger than the book you plan to create and keep all important items (heads & text) away from the outer 1/4" on all sides and nothing will get wacked.
Here is a link to our page on cropping and bleed http://www.prestophoto.com/wiki/index.php?structure_id=303
Thanks,
PrestoPhoto support
Re: Page sizes
So... what can I do to recover from this? I produced the document in Apple's Pages. I haven't found a way to scale all pages within Pages. All my efforts to scale when exporting and/or printing to PDF have failed to date. Suggestions?
Recommended PDF settings from Pages '09
Re: Recommended PDF settings from Pages '09
We recommend using the Export option as a high quality PDF.
PrestoPhoto Support
iwork Pages to Viovio 8.5 x 11 hardcover imagewrap book
thanks in advance
jim
Re: iwork Pages to Viovio 8.5 x 11 hardcover imagewrap book
Thanks,
Chris.
Re: iwork Pages to Viovio 8.5 x 11 hardcover imagewrap book
Re: iwork Pages to Viovio 8.5 x 11 hardcover imagewrap book
greetings from PrestoPhoto and thank you for your interest.
We prefer one complete PDF or separate .jpg files. We recommend your images be at 300 dpi.
For all our trim sizes we recommend you make the cover images as well as the interior page images 1/4" larger than your book size. For example if you plan to create an 8.5x11 book the cover image as well as interior pages would be 8.75x11.25 (at 300 dpi).
Most importantly, keep all important items (people, heads, text,borders) away from the outer 1/2" on all sides.
Here is a page that may help
http://www.prestophoto.com/wiki/index.php?structure_id=303
We trim 1/8" on all sides and just keep in mind an 1/8" is a greater percentage of the book for our mini books than it is for say an 8.5x11 book. In other words 1/8" is a greater percentage of 5" than it is of 8.5". Does that make sense?
You can also just use your iPhoto PDF. We have several creators who use iPhoto to create the PDF and then upload the PDF to PrestoPhoto for printing. I would use a theme with a white background.
I say that because we recommend that your file be .25 larger than the final trim size for bleed. The iPhoto file is exactly 11x8.5, so if you have a dark background then when we trim your book you may see a tiny bit of white on the sides.
Also, if you would like you could save the iPhoto PDF from iPhoto (print - save as pdf) and open the PDF in acrobat and save as a postscript file (print-save as poscript file). In page setup set the scaling to around 85% to reduce the document size to 9 x 7 with bleed), than create a PDF from the postscript file in distiller. Don't scale the file if you would like to create an 11x8.5 on PrestoPhoto.
If you have other questions let us know!
PrestoPhoto support